Troubleshooting a Singer 201-2: Stitch Formation Problems
The Singer 201-2 is a robust and reliable workhorse of a vintage sewing machine, known for its ability to handle a wide range of fabrics. However, like any machine of its age, it can encounter issues that impact stitch formation. This article focuses on common stitch formation problems encountered on the Singer 201-2 and provides steps to diagnose and potentially resolve them. Always remember to disconnect the machine from power before performing any repairs.
Understanding Stitch Formation Basics
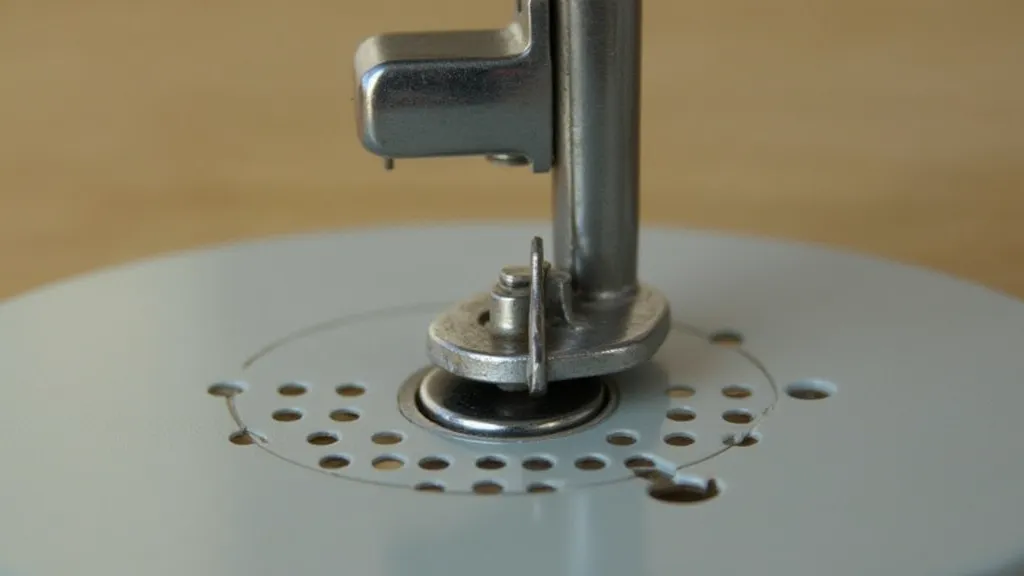
Before we dive into troubleshooting, it's helpful to understand the core elements involved in stitch formation. The Singer 201-2 uses a chain-stitch mechanism, relying on the coordinated action of the needle, hook, and feed dog. Any disruption in this synchronization can lead to skipped stitches, loose stitches, or a completely disrupted stitch. Understanding how these elements interact is crucial for effective troubleshooting, much like ensuring the bobbin case is functioning correctly, as detailed in articles like The Importance of Cleaning the Bobbin Chamber on a Singer 16. The bobbin case is a small but vital part of this system, and ensuring it's clean and properly seated is the first step in many troubleshooting processes.
Common Problems and Solutions
1. Timing Issues – The Most Frequent Culprit
Timing refers to the precise moment the hook catches the thread loop created by the needle. Incorrect timing is the most common reason for skipped or irregular stitches on the 201-2. The timing is usually off due to the screw moving.
Diagnosis: When timing is off, you'll likely see the needle inserting the loop *before* the hook is in position to catch it, or vice versa. The stitches will look erratic and may be quite loose.
Solution: The timing is adjusted by a tiny screw, often located near the needle bar attachment point. Loosen the screw (carefully! it's small) and rotate it slightly, a fraction of a turn at a time. After each adjustment, manually rotate the handwheel forward several times to see the effect on stitch formation. *Micro* adjustments are key. Re-tighten the screw securely once correct timing is achieved. Note: Excessive force on the screw can damage the threads.
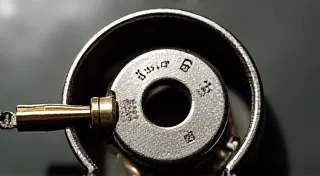
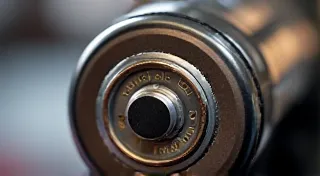
2. Tension Problems – Too Tight or Too Loose
Incorrect tension causes weak or broken threads and uneven stitch appearance. Consistent, even stitches rely on proper tension, a factor that can be affected by various factors including machine age and wear. Improper tension can manifest in numerous ways, impacting thread breakage, stitch quality, and even the overall feel of the finished project. It's not just about the upper and lower tension; the entire system, including the bobbin case and its relationship to the needle, plays a critical role.
Diagnosis: If your stitches are looping on the top of the fabric (top tension problem) or underneath (bottom tension problem), you likely have a tension issue. Broken threads also point to excessive tension.
Solution: The Singer 201-2 has separate upper and lower thread tensioners. Start by slightly loosening the upper thread tensioner. If that doesn’t solve the problem, try slightly loosening the lower tensioner as well. Always make small adjustments and test the stitch after each change. Over time, rust and debris can impact the smooth operation of these mechanisms; dealing with rust on antique Singer sewing machines, as described in Dealing with Rust on Antique Singer Sewing Machines, can help ensure proper function. Regular maintenance to prevent rust is a proactive step in maintaining the intricate tension system.
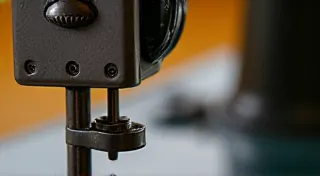
3. Needle Alignment – A Subtle but Critical Factor
The needle must be perfectly aligned with the hook. If it’s tilted even slightly, the hook will miss the thread loop. This seemingly minor detail is crucial for the delicate dance between the needle and hook to work in harmony.
Diagnosis: Check the needle’s vertical alignment with the hook. If the needle is noticeably tilted, it needs to be corrected.
Solution: The needle bar has a screw that allows for minor needle alignment adjustments. Loosen the screw, carefully reposition the needle to ensure it’s perpendicular to the hook, and then re-tighten the screw.
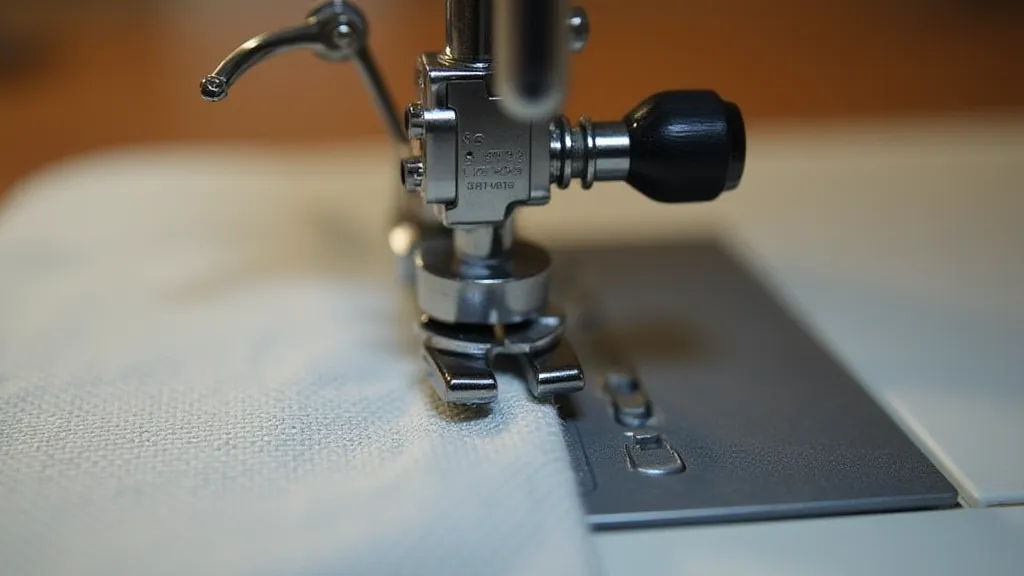
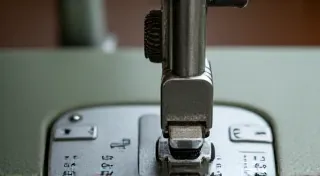
4. Feed Dog Issues – Uneven Fabric Movement
The feed dogs, the small, toothed mechanisms that move the fabric forward, can become jammed or worn, leading to inconsistent stitch length or fabric bunching. These mechanisms are often overlooked, but crucial for consistent fabric feed. The effectiveness of the feed dogs directly impacts the evenness of the stitching and the overall quality of the project.
Diagnosis: If the fabric isn't moving consistently, or if the stitch length varies significantly across a seam, check the feed dogs.
Solution: Ensure the feed dogs move freely. Sometimes a little oil can help loosen them. More serious issues, like a broken feed dog, will require replacement. Replacing components like the bobbin case, a related element in the fabric handling process, is another common maintenance task—a visual guide to that process can be found in Singer 16: Replacing the Bobbin Case – A Visual Guide. A properly functioning bobbin case is essential to ensure the feed dogs can do their job effectively.
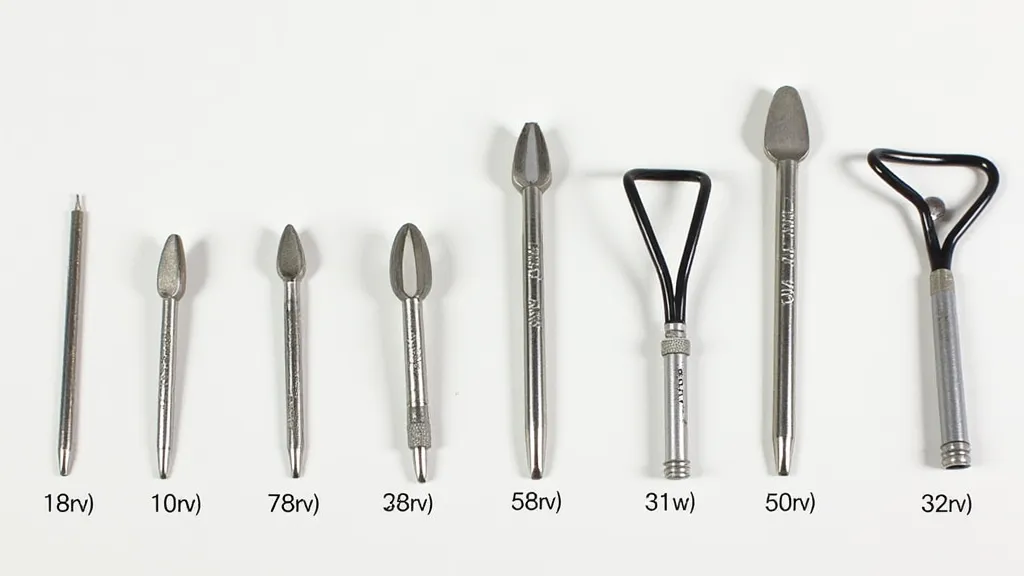
5. Incorrect Needle Size or Type
Using a needle that’s too small or the wrong type for the fabric can cause stitching problems. Selecting the correct needle isn’t just about size; it’s also about the needle’s intended purpose – universal, ballpoint, or leather. Understanding the nuances of needle selection is a significant step in ensuring beautiful, reliable stitching.
Diagnosis: Check the needle’s size and type to ensure it’s appropriate for the fabric you're using.
Solution: Refer to the sewing machine manual or online resources to determine the correct needle size and type for the fabric. For those working with a variety of fabrics, exploring the different types of needles is a great way to expand your sewing skills - for example, Singer 15-91: Understanding and Using Different Needles provides a useful overview.
Beyond the Basics: Addressing Advanced Issues
While the above sections cover the most common problems, a few less frequent issues can also contribute to stitch formation problems. These often require a more experienced eye to diagnose, and might involve disassembly and inspection of internal components.
Hook Timing Adjustments - A Detailed Look
The timing screw we discussed earlier allows for relatively minor adjustments. However, in some cases, the hook timing may be significantly off, requiring a more complex realignment. This involves understanding the relationship between the needle bar and the hook mechanism, and often necessitates consulting a service manual or seeking the help of a qualified sewing machine technician.
Bobbin Case Engagement
The bobbin case’s proper engagement with the machine is vital. If the case isn’t seated correctly, or if the tension spring is damaged, it can lead to skipped stitches or thread breakage. Thoroughly inspect the bobbin case and its components, and replace any damaged parts. The way the bobbin case interacts with the hook is incredibly precise, any deviations can impact the entire stitch formation process.
Needle Bar Stability
The needle bar’s stability is crucial for consistent needle movement. A loose or damaged needle bar can cause erratic stitching and thread breakage. The needle bar is the foundation for the entire sewing process, its stability directly influences the precision of the stitches.
Motor and Drive Belt Inspection
Sometimes, issues with stitch formation can stem from problems with the motor or drive belt. A slipping belt can cause inconsistent needle movement and affect the timing of the machine. Inspect the belt for wear and tear, and replace it if necessary. A well-maintained motor and belt contribute to the overall smooth operation and reliable stitch quality.
Preventative Maintenance for Long-Lasting Stitch Quality
Regular maintenance is key to preventing future stitch formation issues. This includes:
- Cleaning the machine regularly to remove lint and debris.
- Oiling the machine according to the manufacturer's recommendations.
- Inspecting and replacing worn parts, such as the needle and belt.
- Properly storing the machine when not in use, protecting it from dust and moisture.
By following these tips, you can keep your Singer 201-2 running smoothly for years to come and enjoy the satisfaction of creating beautiful, well-stitched projects.