Restoring a Singer 12: Paint Removal and Refinishing
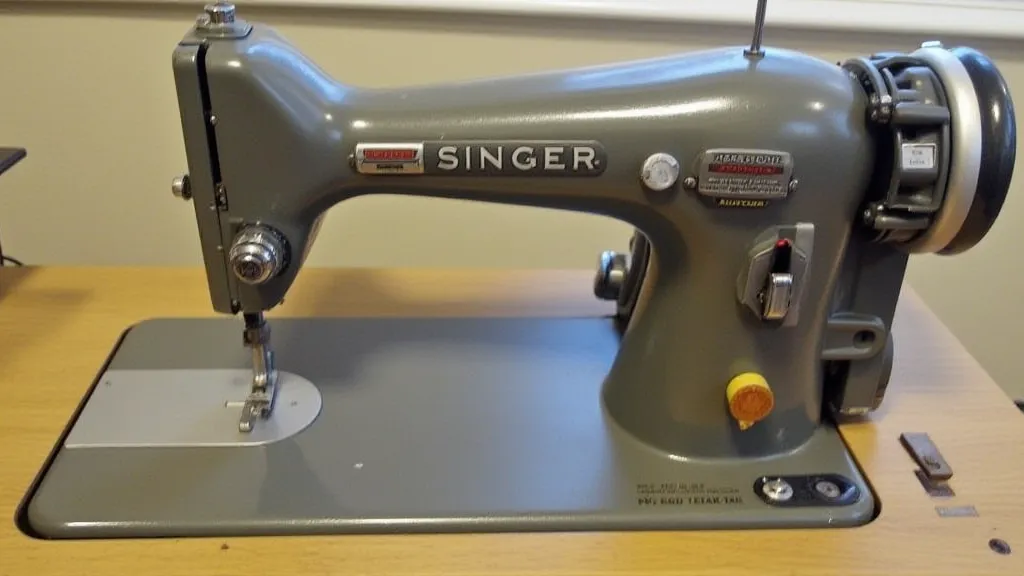
The Singer 12 is a beloved vintage sewing machine, prized for its elegant design and reliable performance. Many surviving examples, however, bear the marks of age and neglect - layers of old paint that obscure the beauty beneath. This guide will walk you through the process of safely removing the old paint and refinishing your Singer 12, bringing it back to its former glory.
Understanding the Challenge
Singer 12s are typically finished with a painted metal surface, often layered with multiple coats over the years. The paint may be brittle, cracked, or have been subjected to hasty repairs with different types of paint. Before you begin, carefully inspect the finish to understand the extent of the work required. Consider the existing finish – is it oil-based or latex? This will impact your choice of paint stripper. Identifying the finish type is crucial, as it impacts stripping and priming choices. Furthermore, understanding the machine's mechanical intricacies, beyond the cosmetic restoration, can often reveal more about its history and function. For those interested in exploring the wider family of vintage Singer machines, the complexities of a Singer 201, for example, offer a fascinating case study in engineering.

Step 1: Paint Removal – Stripping Methods
There are several methods for removing old paint. Each has its pros and cons. Choose the method best suited for your skill level and comfort.
- Chemical Stripping: This is often the most effective method for heavily layered paint. Use a commercial paint stripper specifically designed for metal. Follow the manufacturer's instructions *precisely*. Work in a well-ventilated area, wear appropriate safety gear (gloves, eye protection, respirator), and protect surrounding surfaces. After the stripper has loosened the paint, use plastic scrapers and steel wool to gently remove the softened finish.
- Heat Gun: A heat gun can be used to soften the paint, allowing it to be scraped away. Use caution, as excessive heat can damage the metal. Keep the heat gun moving and avoid focusing on one area for too long.
- Sanding: Sanding can be effective for thinner layers of paint or for spot repairs. Start with a coarse grit sandpaper and gradually work your way to finer grits. This is a labor-intensive method and can create a lot of dust.
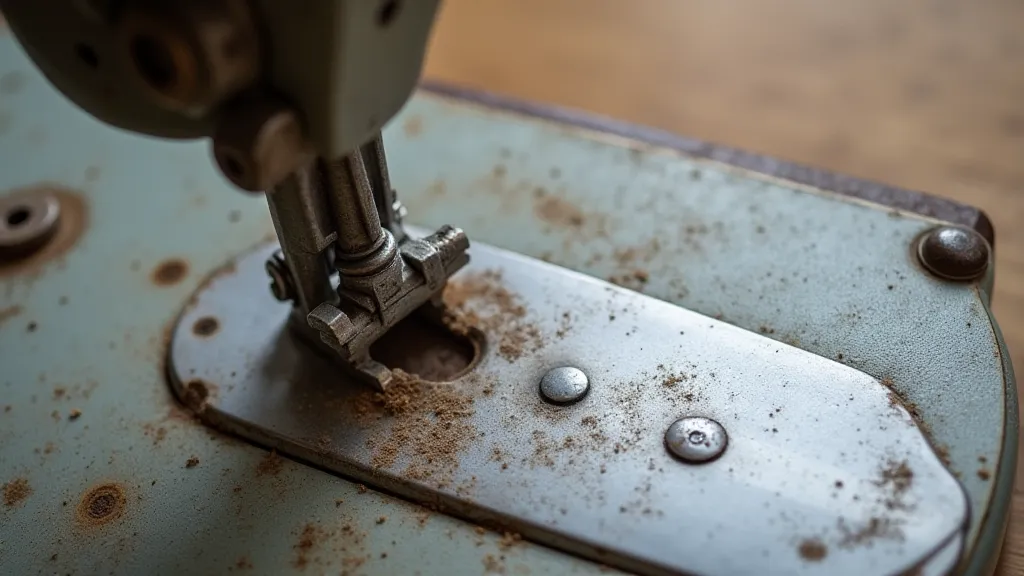
Step 2: Surface Preparation – Sanding and Rust Removal
Once the old paint is removed, you'll need to prepare the surface for refinishing. This involves thorough sanding to create a smooth, even surface. Pay close attention to any areas with rust. Use a wire brush or sandpaper to remove loose rust. For more stubborn rust, consider using a rust converter. The metal beneath the paint often bears the brunt of years of neglect, and meticulous preparation here is the foundation for a lasting finish. Thorough rust removal is more than just aesthetics; it prevents further corrosion and ensures the new paint adheres properly. Rust converter products chemically transform rust into a stable, paintable surface. If you're working with a particularly complex machine with intricate components, like exploring the details of a Singer 201, understanding the material properties and potential corrosion points is even more important.
Step 3: Priming
Priming is a crucial step in the refinishing process. Primer provides a stable base for the new paint and helps to prevent adhesion problems. Choose a metal primer specifically designed for the type of paint you plan to use. Apply the primer in thin, even coats, allowing each coat to dry completely before applying the next. Typically, two coats of primer are recommended. Selecting the right primer isn't just about compatibility with your chosen paint; it's about creating a bond that will last. A properly primed surface acts as a barrier against moisture and corrosion, extending the life of your finish.
Step 4: Painting
Now for the fun part! Choose a paint color that is appropriate for the vintage aesthetic of your Singer 12. Enamel paint is a good choice for durability and a classic look. Apply the paint in thin, even coats, allowing each coat to dry completely before applying the next. Multiple thin coats are better than one thick coat, which can lead to runs and drips. Achieving a flawless finish takes patience and attention to detail. The final result will depend on the quality of your preparation and your application technique. If you’re encountering issues with needle replacement during your restoration project, remember that proper needle selection is paramount for optimal performance. You can find a step-by-step guide on Replacing the Singer 15-91 Needle for valuable insights.
Finishing Touches
Once the paint is completely dry, you can apply a clear coat of varnish or lacquer to protect the finish and enhance the shine. Buffing the finish with a soft cloth will further enhance the appearance. Remember to allow ample drying time between coats and to handle the machine with care to avoid scratching the new finish. Beyond the cosmetic transformation, ensure the machine's mechanical functionality remains sound. If you’re experiencing any difficulties, it’s wise to diagnose and resolve them before the final touches. For those encountering operational quirks, our guide to Troubleshooting a Singer 66-4 may provide helpful insights.
Restoring a Singer 12 is a rewarding project that can bring a piece of history back to life. With patience, care, and the right techniques, you can transform a neglected machine into a beautiful and functional work of art. The process, while requiring effort, provides a connection to the craftsmanship of the past and a renewed appreciation for the enduring quality of these vintage machines. This restoration journey can spark an interest in expanding your collection and delving deeper into the fascinating history of Singer sewing machines. Many vintage models present their own unique challenges and require specialized knowledge. For example, understanding the intricacies of a Singer 201 requires a different approach than restoring a more common model.
Tips for Long-Lasting Results:
- Ventilation: Always work in a well-ventilated area when using chemicals.
- Safety Gear: Wear appropriate safety gear, including gloves, eye protection, and a respirator.
- Thin Coats: Apply paint in thin, even coats.
- Drying Time: Allow ample drying time between coats.
- Gentle Handling: Handle the machine with care to avoid scratching the new finish.
- Regular Maintenance: Continue to lubricate and clean your restored Singer 12 to keep it running smoothly.