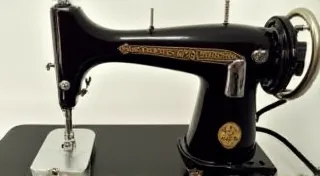
Singer 16: Replacing the Bobbin Case – A Visual Guide
The bobbin case is a vital component of your Singer 16 sewing machine, and like all mechanical parts, it can wear out or become damaged over time. Replacing it is a relatively straightforward repair, but it's crucial to do it correctly to ensure your machine functions smoothly. This guide provides a visual walkthrough, helping you confidently replace the bobbin case on your vintage Singer 16. Maintaining vintage machines like the Singer 16 requires understanding their intricacies – a concept we explore further in articles about essential tools and techniques for repair.
What You'll Need
- A new Singer 16 bobbin case (ensure it's the correct model!
- Small screwdriver (a very fine-tipped one is best)
- Clean workspace
- Good lighting
Understanding the Importance of Correct Parts
Before we dive into the replacement process, let's stress the importance of using the correct parts. Using the wrong bobbin case, even seemingly similar ones, can cause significant damage to your Singer 16. These machines are precision instruments, and even slight variations in the bobbin case's dimensions or material can disrupt the intricate dance between the needle and the hook. Furthermore, understanding the broader landscape of Singer machine repair often necessitates having a well-stocked toolkit. You might find our guide on Essential Tools for Singer Sewing Machine Repair helpful in preparing for various maintenance tasks beyond just bobbin case replacement.
Step-by-Step Instructions
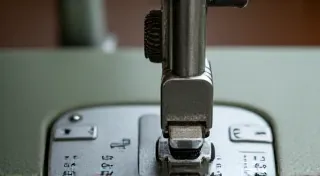
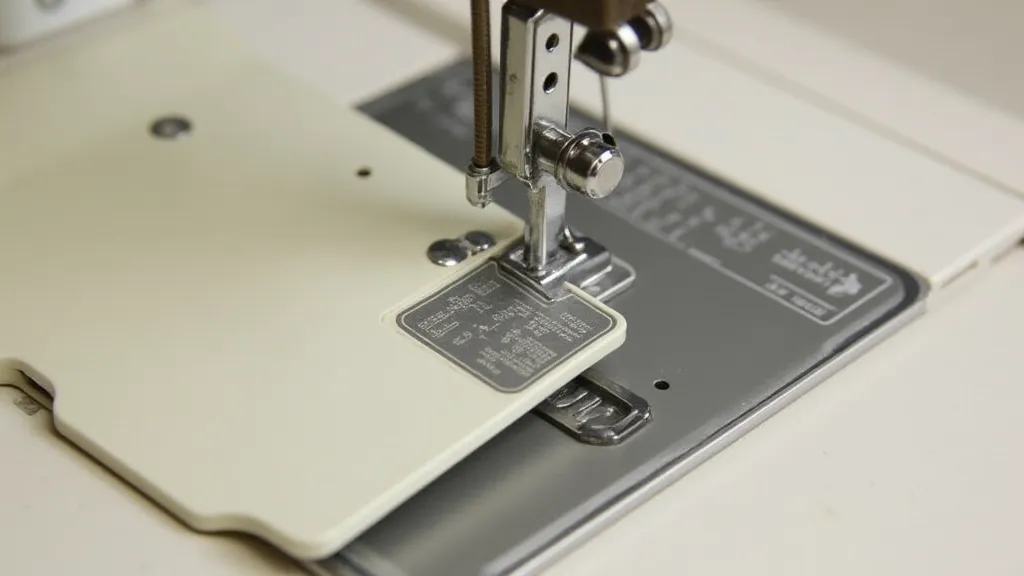
Step 1: Accessing the Bobbin Case
First, you need to access the bobbin case. Open the bobbin chamber cover located beneath the needle race. You may need to gently wiggle it loose. Use the screwdriver if needed to loosen any stuck screws or clips. These vintage machines can accumulate grime and debris over time, making some parts a little stubborn to move. Remember, a little patience and the right tools are your best allies.
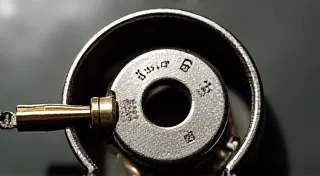
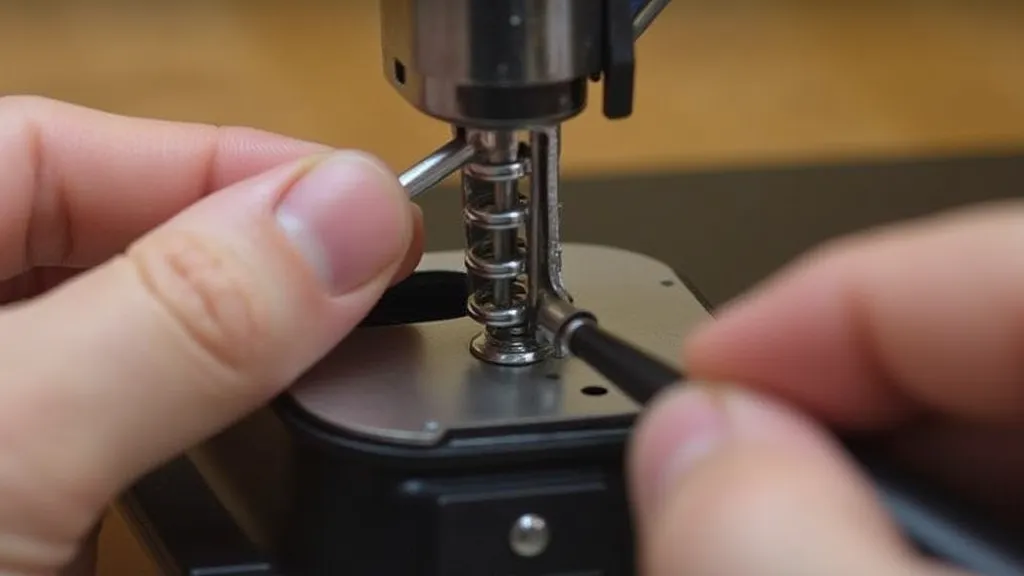
Step 2: Removing the Old Bobbin Case
The old bobbin case is held in place by a small spring and a retaining arm. Carefully observe how the spring is positioned before attempting to remove the case. This is critical. Misplacing the spring can cause tension issues that affect stitch quality. Speaking of stitch quality, many factors can impact it, including proper tension. You can learn more about adjusting tension on similar Singer models in our article on the Singer 66-4: Adjusting the Tension for Perfect Stitches.
Step 3: Installing the New Bobbin Case
With the old bobbin case removed, it’s time to install the new one. Align the new bobbin case with the opening. Gently press the bobbin case into place, ensuring the spring snaps back into position. Double-check that the bobbin case is securely seated. It's a good practice to visually inspect the new bobbin case before installation to ensure it’s free from any defects. Small imperfections can lead to larger problems down the line. Consider the intricacies of mechanical timing as well, essential to machine functionality. More complex repairs like rebuilding timing mechanisms, found in machines like the Singer 99K, demand a deeper understanding – a topic we explore elsewhere.

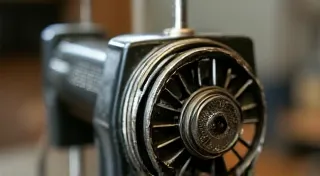
Step 4: Testing the New Bobbin Case
Before closing the bobbin chamber cover, manually rotate the handwheel to advance the machine through a few cycles. This will ensure the bobbin case is functioning correctly and isn't hindering the movement of the hook. If you feel any resistance, re-examine the installation. Pay attention to the sound the machine makes during these few cycles. An unusual clicking or grinding sound can indicate a problem that needs immediate attention. Consistent, smooth operation is the hallmark of a well-maintained Singer 16.
Troubleshooting Common Issues
Even with careful replacement, you might encounter some hiccups. Here are a few common issues and potential solutions:
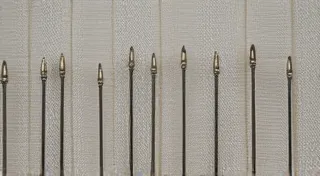
- Skipped Stitches: This could be caused by incorrect needle size or type. Refer to our guide on needle selection for other Singer models, which shares many similar principles. It could also be a sign of improper bobbin case installation.
- Tension Problems: If the stitches are too loose or too tight, double-check the spring placement and ensure the bobbin case is seated correctly. Uneven tension across the fabric can also indicate a problem.
- Bobbin Thread Jamming: This is often caused by incorrect bobbin winding or a tangled thread. Ensure the thread is wound evenly on the bobbin and that it's correctly threaded through the bobbin case mechanism.
Important Considerations
- Correct Model: Double-check that the new bobbin case is specifically designed for the Singer 16 model. Using the wrong part can cause serious damage. The Singer 16 is a beloved machine with a rich history. Maintaining its integrity requires diligence and a commitment to using authentic replacement parts.
- Gentle Handling: These are vintage machines, so handle all parts with care. Avoid excessive force. Remember, these machines are delicate and have seen decades of use. Respecting their age and fragility is key to prolonging their lifespan.
- Spring Tension: Pay close attention to how the spring is positioned during removal. Incorrect placement can lead to operational issues. A correctly positioned spring is vital for maintaining consistent tension and ensuring smooth operation.
- Lubrication: While we're focusing on the bobbin case, remember that regular lubrication of your Singer 16 is crucial. Apply a small amount of sewing machine oil to the moving parts to reduce friction and prevent wear.
Replacing the bobbin case on your Singer 16 is a simple repair that can significantly improve your machine’s performance. By following these steps carefully, you can keep your vintage sewing machine in top working condition. Beyond this particular repair, a commitment to regular maintenance and a willingness to learn about your machine's intricacies will ensure years of enjoyable sewing. Remember, understanding the underlying principles of how a sewing machine works—its timing, its tension—is just as important as knowing how to replace a bobbin case. The world of vintage sewing machines offers endless opportunities for learning and discovery. For those seeking even more in-depth knowledge, exploring the complexities of timing mechanisms, as found in models like the Singer 99K: Rebuilding the Timing Mechanism, can be a rewarding experience.