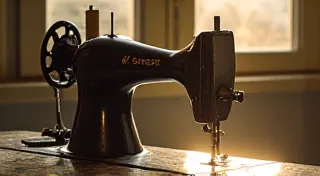
The Importance of Cleaning the Bobbin Chamber on a Singer 16
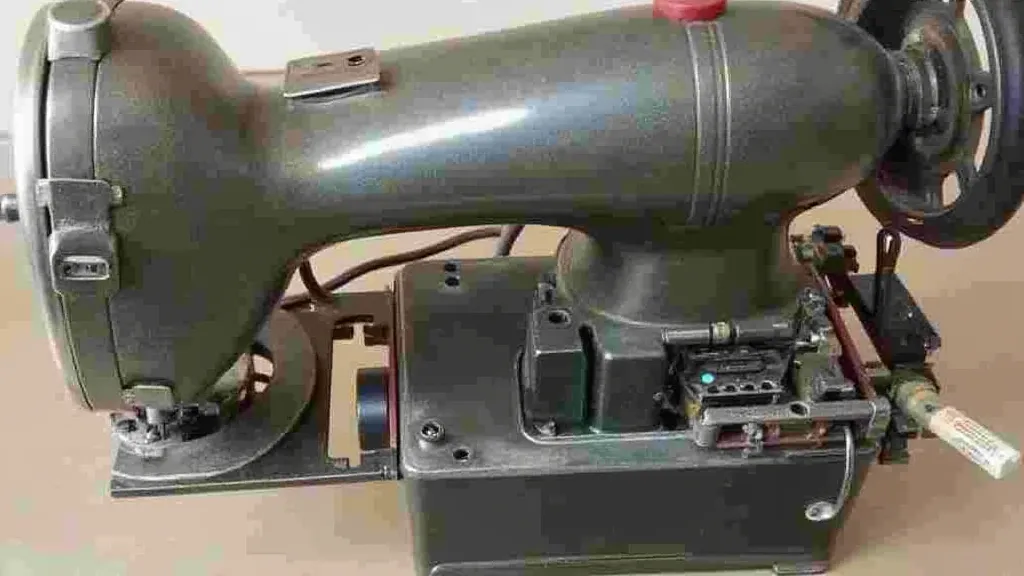
The Singer 16 is a workhorse – a reliable and robust machine cherished by sewing enthusiasts and collectors alike. However, even the most dependable machines can experience performance hiccups. One often-overlooked area that significantly impacts its efficiency is the bobbin chamber. Regularly cleaning the bobbin chamber is paramount for maintaining consistent stitching and preventing frustrating issues. This article delves into why this cleaning is so crucial and provides a step-by-step guide to effectively cleaning your Singer 16's bobbin chamber.
Why is Cleaning the Bobbin Chamber So Important?
The bobbin chamber, being located deep within the machine's mechanics, is a magnet for lint, thread scraps, and small debris. Over time, this accumulation can lead to several problems:
- Thread Jams: Lint and thread build-up impede the bobbin's movement, causing it to jam and interrupting the sewing process.
- Uneven Stitching: The bobbin's inability to rotate freely can result in inconsistent stitch formation.
- Increased Tension Issues: A dirty bobbin chamber can interfere with the proper tension of the lower thread, leading to looping or puckering.
- Corrosion: Lint and debris retain moisture, potentially leading to rust and corrosion within the intricate mechanisms of the bobbin chamber.
- Reduced Machine Lifespan: Neglecting maintenance like this can accelerate wear and tear on the machine's internal components, shortening its overall lifespan.
How to Effectively Clean Your Singer 16 Bobbin Chamber
Cleaning the bobbin chamber is a relatively straightforward process. Here's a step-by-step guide:
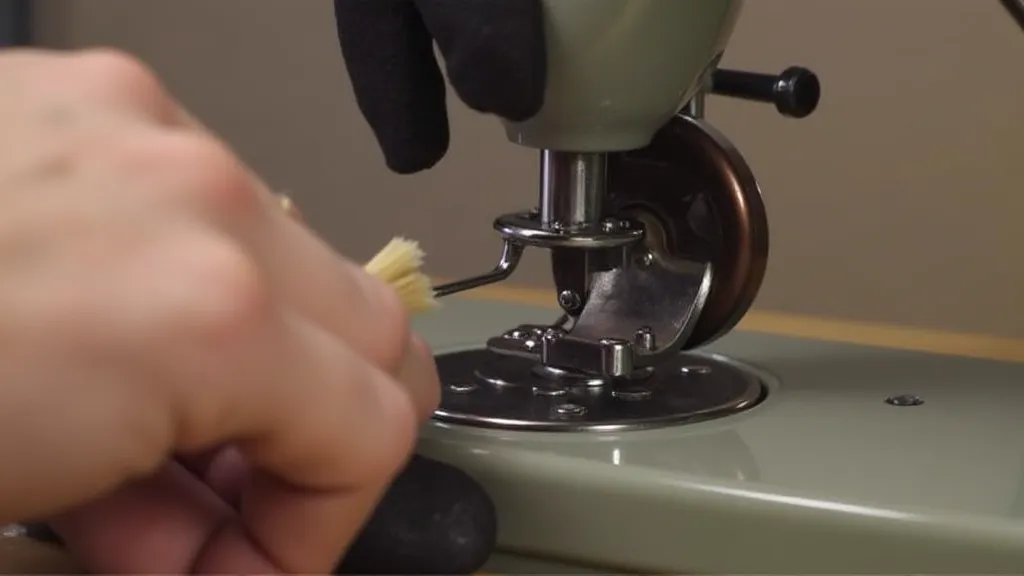
- Gather Your Supplies: You’re going to need a small brush (a toothbrush works well), a lint brush, a pair of tweezers, and a soft cloth. A small can of compressed air can also be helpful. Thinking about overall machine maintenance? For more comprehensive care, understanding the intricacies of machines like the Singer Featherweight motor can also contribute to longevity.
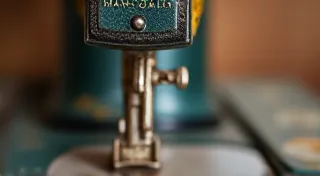
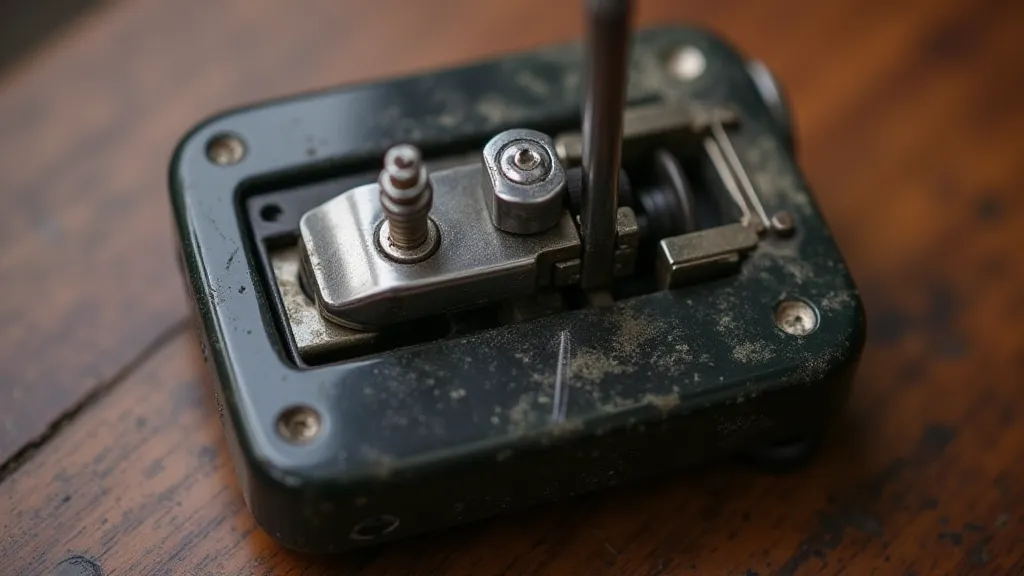
- Remove the Bobbin Case: Follow your machine's manual for specific instructions on removing the bobbin case. Generally, it involves releasing a small lever or button.
- Clean the Bobbin Case: Use the small brush and tweezers to remove any visible lint and thread from the bobbin case itself. Pay close attention to the tension spring and the slot where the bobbin sits.
- Clean the Bobbin Chamber Interior: This is the most important step. Use the brush to loosen lint and debris from the interior of the bobbin chamber. The lint brush is ideal for removing larger clumps. Compressed air can be used to blow out remaining particles. Be thorough – reach into every nook and cranny.
- Inspect for Damage: While you're cleaning, take a moment to inspect the components of the bobbin chamber for any signs of wear, damage, or rust. Early detection can prevent more serious problems down the line. Issues with other vintage models, such as the Singer 99K, sometimes require similar attention to detail, like understanding how to replace the pressure foot for optimal performance.
- Reassemble: Once the bobbin chamber is clean and dry, carefully reassemble the bobbin case and insert it back into the machine.
- Test Stitch: Thread the machine and run a test stitch. Pay attention to the stitch formation and tension. Adjust the tension if necessary.
Frequency of Cleaning
How often should you clean the bobbin chamber? A general rule of thumb is to clean it every 20-30 hours of use. However, if you sew frequently with certain types of thread (like rayon or silk, which tend to produce more lint), or if you notice any issues with your machine’s performance, you should clean it more often. Restoring older machines, like the Singer 12, often involves a similar level of care, encompassing tasks like paint removal and refinishing, to bring them back to their former glory.
Preventative Measures
While regular cleaning is essential, there are a few things you can do to minimize lint build-up:
- Use quality thread. Cheaper threads often shed more lint.
- Clean your machine frequently. Regular oiling and brushing will prevent lint from accumulating.
- Consider using a lint catcher or vacuum attachment designed for sewing machines.
Many vintage Singer machines, like the Singer 99K, are complex and require careful maintenance to ensure proper timing. Understanding how to rebuild the timing mechanism can be vital for preserving these mechanical masterpieces.
Understanding the Intricacies of Vintage Sewing Machine Maintenance
Beyond the bobbin chamber, consistent upkeep is the key to a long and happy life for your Singer 16. This includes more than just a quick brushing; it's about understanding how all the parts work together. For instance, proper lubrication is essential to minimize friction and prevent premature wear. Different thread types, especially delicate ones like silk or rayon, tend to produce more lint, so you'll want to clean the bobbin chamber more frequently when using them.
Troubleshooting Common Issues After Cleaning
Even after a thorough cleaning, you might encounter some unexpected issues. Let's explore a few common problems and how to address them:
- Skipped Stitches: This could indicate incorrect tension or a problem with the needle. Double-check the tension settings and make sure you're using the correct needle size for your fabric. A damaged needle can also cause skipped stitches.
- Thread Bunching: This often points to a problem with the thread path. Ensure the thread is correctly threaded through all the guides and tension discs. A tangled bobbin can also cause thread bunching.
- Uneven Tension: If your stitches are looping or puckering, the tension needs adjustment. Refer to your machine’s manual for specific instructions on adjusting the upper and lower thread tension. Sometimes, a thorough cleaning of the bobbin case itself can resolve tension issues.
Resources for Further Learning
Maintaining a vintage sewing machine can be a rewarding hobby. Here are some resources where you can learn more:
- Online Forums: Numerous online forums dedicated to vintage sewing machines offer a wealth of information and support from experienced enthusiasts.
- Repair Manuals: A repair manual specific to your Singer 16 model is an invaluable resource for troubleshooting and maintenance.
- YouTube Tutorials: Many helpful YouTube tutorials demonstrate various maintenance and repair tasks for vintage sewing machines.
By implementing these simple cleaning steps and adopting a proactive approach to maintenance, you can significantly improve the performance and longevity of your cherished Singer 16 sewing machine, ensuring many years of reliable stitching. The care you provide will not only keep it running smoothly but also preserve a piece of history.