Singer 99K: Rebuilding the Timing Mechanism
The Singer 99K is a marvel of engineering, a workhorse of the early 1900s. But even the most robust machines eventually need a little TLC. One of the more intricate – and often necessary – repairs on a 99K involves the timing mechanism. Incorrect timing leads to erratic stitching, skipped stitches, and ultimately, a frustrating experience. This guide walks you through rebuilding the timing mechanism, a challenging but incredibly rewarding project for the dedicated Singer enthusiast.
Understanding the Timing Mechanism
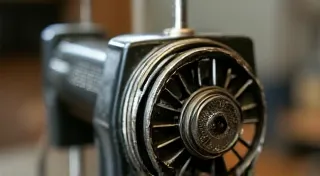
Before you dive in, it's crucial to understand how the timing mechanism works on the Singer 99K. It’s a complex interplay of levers, gears, and the oscillating hook, all synchronized to deliver a consistent stitch. Misalignment in any part of this system throws everything off. This rebuild focuses on the key components and their correct placement.
Tools and Materials Needed
- Singer 99K parts kit (or individual replacement parts)
- Needle-nose pliers
- Small screwdrivers (various sizes)
- Feeler gauges
- Oil (sewing machine oil)
- Clean rags
- Magnifying glass (highly recommended)
Disassembly: Taking it Apart
Document your disassembly! Take photos at each step. This will be invaluable when you're putting everything back together.
- Remove the needle plate and bobbin race.
- Carefully remove the bobbin winder assembly.
- Locate the timing lever and related components.
- Use the needle-nose pliers to gently release the timing lever from its pivot. Be patient and avoid forcing anything.
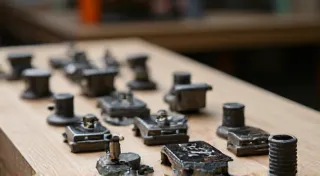
- Note the position of all gears and springs as you remove them.

Cleaning and Inspection
Once disassembled, thoroughly clean all parts with a clean rag and sewing machine oil. Inspect for wear, damage, or corrosion. Replace any worn or damaged parts. A magnifying glass is essential for identifying subtle issues.
Reassembly: Putting it Back Together
This is where your documentation and photographs come into play. Follow your notes carefully. Start with the lower timing components, ensuring they are properly aligned. The oscillating hook needs to move freely and smoothly.
- Reinstall the lower timing gears.
- Carefully position the timing lever, ensuring it engages correctly with the drive shaft.
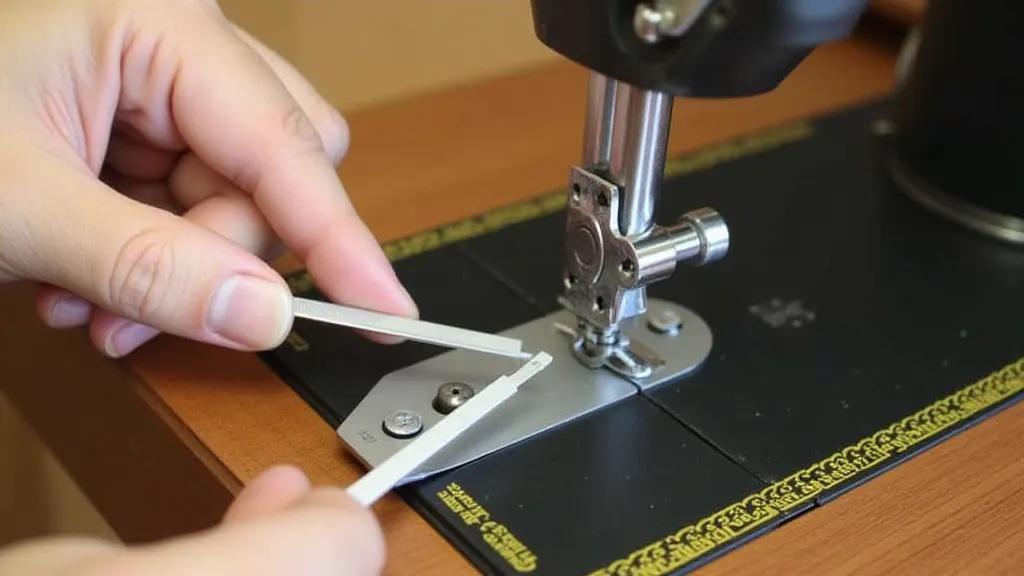
- Adjust the timing lever position using feeler gauges, aiming for the manufacturer's specified clearance. This is a critical step!
- Reattach the bobbin winder assembly.
- Replace the needle plate.
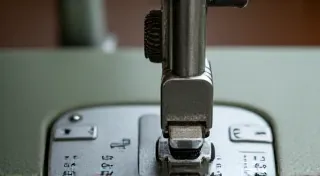
Timing Adjustment and Testing
After reassembly, test the timing. Rotate the handwheel slowly and observe the movement of the oscillating hook. It should be synchronized with the needle’s descent. Fine-tune the timing lever position as needed. A stitch test is essential: sew a straight line, and look for even, balanced stitches.
If stitches are erratic, recheck the timing lever position and ensure all components are properly seated.
Final Lubrication
Once the timing is perfect, lubricate all moving parts with sewing machine oil. This ensures smooth operation and prolongs the life of your Singer 99K.

Conclusion
Rebuilding the timing mechanism on a Singer 99K is a complex undertaking, but the reward is a machine that sews beautifully and reliably. With patience, careful documentation, and a little bit of know-how, you can restore this iconic sewing machine to its former glory.