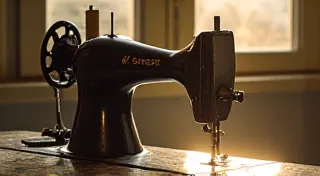
Singer 99K: Understanding and Replacing the Pressure Foot
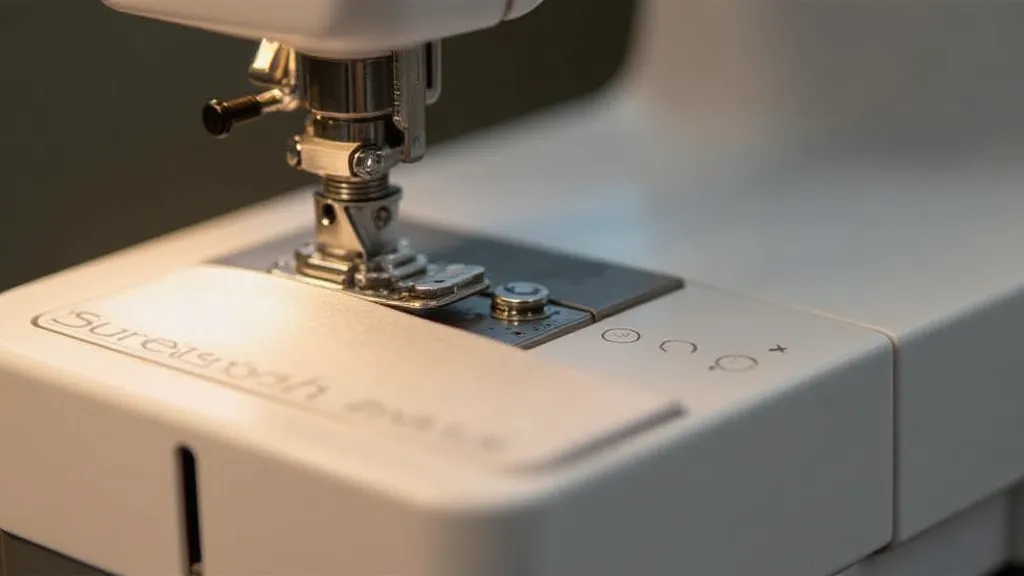
The Singer 99K is a beloved vintage sewing machine, known for its robust construction and versatility. A key element in achieving smooth and accurate stitching is the pressure foot. Over time, these feet can wear out, become damaged, or simply need replacement. This guide will help you understand the different types of pressure feet used on the Singer 99K and provides a step-by-step process for their proper installation.
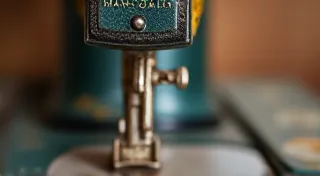
Identifying Your Singer 99K Pressure Foot
The Singer 99K was manufactured for many years, and during that time, slight variations in pressure foot designs were implemented. Here's a breakdown of the common types you're likely to encounter:
- Standard Presser Foot: This is the most common foot, designed for general sewing tasks. It's often a simple, flat design.
- Buttonhole Presser Foot: Essential for creating buttonholes, this foot has a more complex shape and a guide to ensure accurate stitching.
- Darning Presser Foot: Allows for free-motion darning and embroidery. It provides more movement than a standard foot.
- Specialty Feet: While less common, you might find feet for specific purposes like gathering or blind hemming.
Visual Inspection: The easiest way to identify your pressure foot is through careful visual inspection. Note the shape, any markings, and the overall condition. Compare your foot to images online and in vintage Singer manuals.
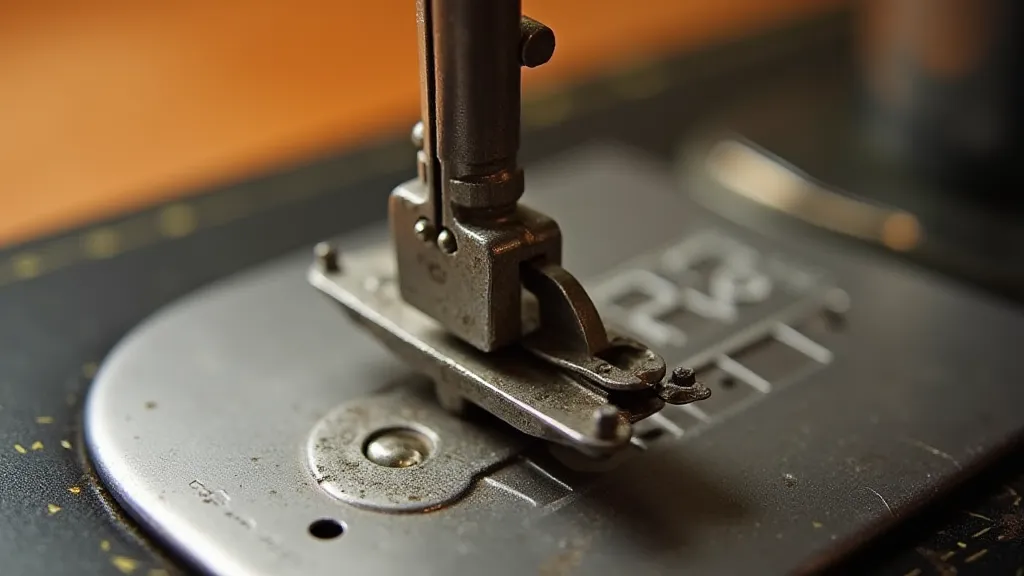
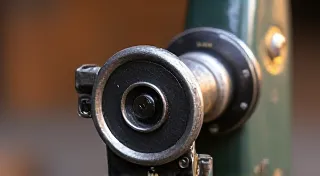
Understanding the Pressure Foot Mechanism
Before replacing the foot, it's helpful to understand how it functions. The pressure foot applies downwards force onto the fabric, ensuring consistent contact between the fabric and the feed dogs. This force is regulated by the pressure plate and spring assembly. Problems with the foot’s functionality are often related to wear on these parts as well.
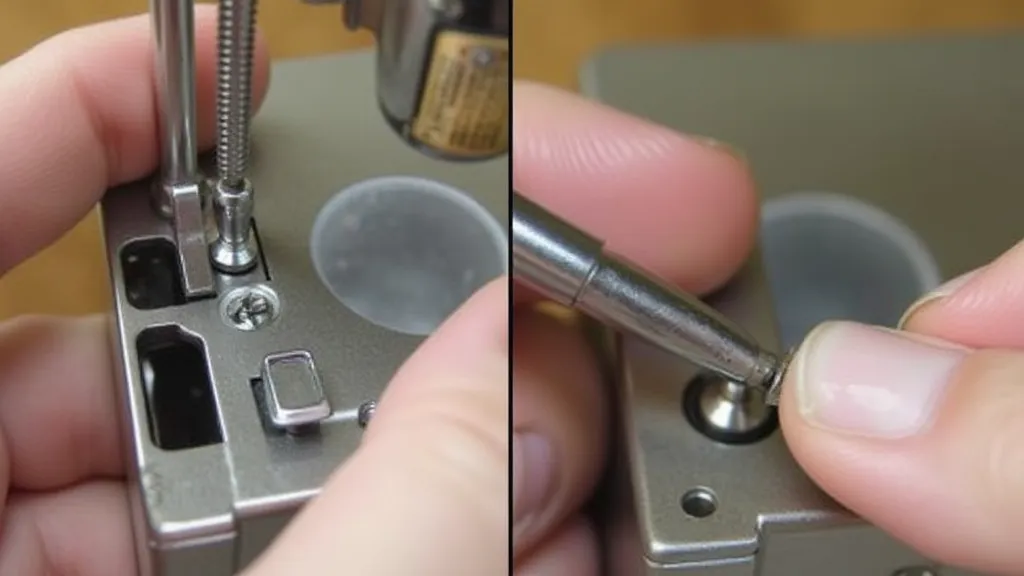
Replacing the Pressure Foot – Step-by-Step
- Power Off & Safety: Always disconnect the power cord from the machine before attempting any repairs.
- Lower the Presser Bar: Bring the presser bar to its lowest position.
- Release the Old Foot: The pressure foot is held in place by a small screw. Loosen this screw (usually with a small screwdriver – size will be indicated on the machine) but do not remove it entirely. The foot should now be able to be gently lifted off the presser bar.
- Install the New Foot: Align the new foot with the presser bar. Ensure it's oriented correctly – sometimes there's a specific "right" way up. Gently push the foot down onto the bar.
- Tighten the Screw: Tighten the small screw securely, but be careful not to overtighten it, as this could damage the threads.
- Test the Foot: Raise and lower the presser bar manually to ensure the foot moves freely and applies consistent pressure. Test stitching on a scrap piece of fabric to verify proper function.
Troubleshooting Pressure Foot Issues
If you’re experiencing problems like skipped stitches, uneven seams, or fabric slipping, the pressure foot could be the culprit. Here's a quick checklist:
- Cleanliness: A build-up of lint and debris on the foot can impede its function. Clean the foot thoroughly with a brush and solvent.
- Wear & Tear: Examine the foot for any signs of wear, such as rounded edges or a damaged surface. Replace if necessary.
- Pressure Plate Spring: The spring that regulates pressure on the foot can lose its strength over time. If the pressure feels too light or inconsistent, the spring might need adjustment or replacement.
- Foot Alignment: Check the foot to ensure that it is parallel with the needle.
Replacing the pressure foot on your Singer 99K is a relatively straightforward process that can significantly improve the performance of your vintage sewing machine. With a little patience and attention to detail, you can keep your 99K stitching beautifully for years to come.