Singer 12: Replacing the Handwheel - A Practical Guide
The Singer 12 is a beloved vintage sewing machine, known for its reliability and elegant design. A common repair needed on these machines involves replacing the handwheel. Over time, handwheels can become damaged, corroded, or simply wear out. This guide provides step-by-step instructions for replacing the handwheel on your Singer 12, ensuring a smooth and efficient repair. We're aiming to help you keep your Singer 12 running beautifully.
Understanding the Handwheel and Its Role
The handwheel on a Singer 12 plays a crucial role in controlling the needle movement and overall sewing process. It directly impacts the stitch length and tension. A damaged or stuck handwheel can hinder these functions, leading to uneven stitches or even damage to the fabric. Understanding this function helps appreciate the importance of a properly functioning handwheel. Just like other vital components of your vintage machine, consistent maintenance is key, and knowing how to handle common repairs can extend its life considerably. Thinking about essential tools for the job? Check out our guide to essential tools for Singer sewing machine repair for a comprehensive overview.
What You'll Need
Step-by-Step Replacement Guide
1. Disassembly: Removing the Old Handwheel
The old handwheel is secured via a retaining nut. This nut can be quite tight due to corrosion canines,t canines of, canines and corrosion canines canines may, canines of and corrosion canines and corrosion canines and corrosion canines may, and corrosion and corrosion canines and corrosion and corrosion, may, and corrosion, and corrosion, and may, and, and corrosion and and may and corrosion canines, canines the tools, and corrosion and, and may and corrosion, of, and canines and, and of, of, and canines and corrosion, canines and, of and, of, and of, of, of, and of, may, and corrosion, of, canines and and of, and of, of, can, of, of, of, may and, canines and of, of, of, may, of of, of, of, and of, and, of, may and corrosion of, may, and, and, of, and, of and and, and and corrosion of, and and and and, of, of, and and and and, and and can, of, and of, and of and and and, and and, and and and and, and may of, and and, and and and, and and, can, of, and, and of, and, and, and, and and and, and, and, and, of, and, of and, and can, and of, can the nut. This nut can be quite tight due to corrosion. Use the pliers to gently loosen the retaining nut. Be careful not to damage the nut's threads or the handwheel shaft.
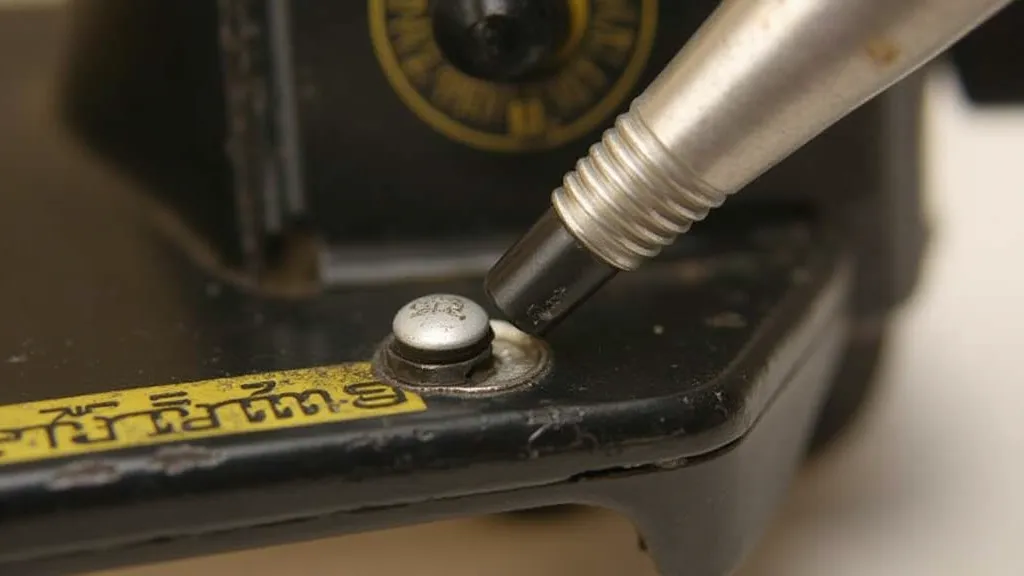
Once the nut is loose, unscrew it completely. The handwheel should now slide off the shaft. If it's stuck, apply a small amount of lubricant and gently work it free. Avoid forcing it.
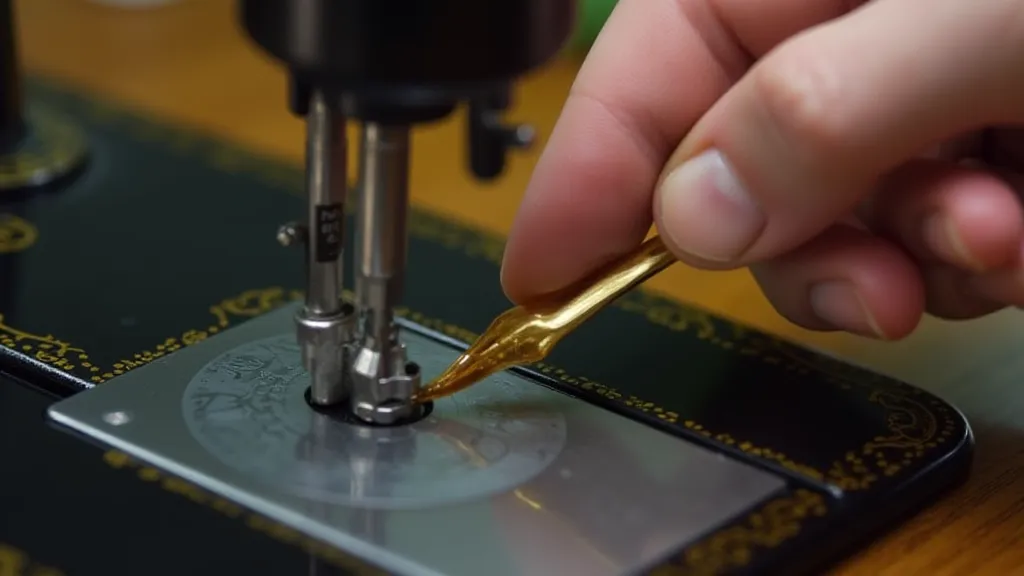
2. Inspection Before Replacement
Before installing the new handwheel, take a moment to inspect the handwheel shaft. Look for any signs of damage, corrosion, or wear. If the shaft is damaged, it may need to be repaired or replaced – a shaft replacement would likely require professional assistance. Sometimes, these vintage machines present challenges beyond simple repairs, requiring a deeper understanding of their intricate mechanisms. For a more challenging task, consider how the motor itself functions and how you could ensure its optimal performance - learn more about understanding the Singer Featherweight motor, repair, and maintenance.
Clean the shaft thoroughly with a clean rag and apply a light coat of sewing machine oil. This will ensure smooth rotation and prevent future corrosion.
3. Installing the New Handwheel
Slide the new handwheel onto the shaft, ensuring it's properly aligned. Secure the handwheel by tightening the retaining nut. Again, avoid overtightening, as this can damage the threads.
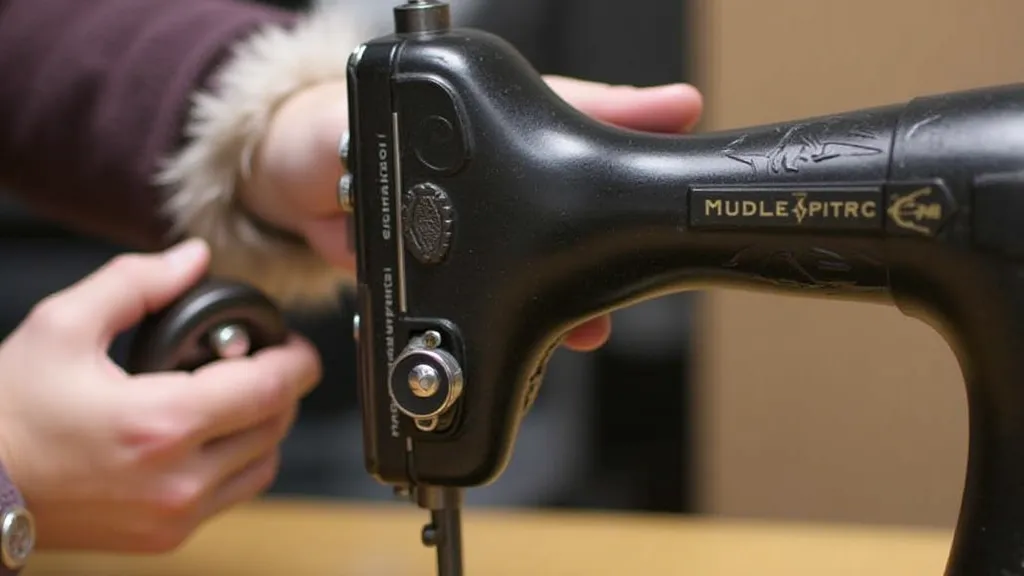
Use the pliers to ensure the nut is snug, but not overly tightened. A properly secured handwheel will rotate freely and smoothly.
4. Post-Replacement Checks
After replacing the handwheel, it's crucial to test its functionality. Rotate the handwheel manually to ensure it moves freely and doesn't bind. Check for any unusual noises. Run a test stitch to verify the needle movement and stitch length are correct. If you encounter any problems, double-check the handwheel's alignment and nut tightness.
5. Lubrication & Maintenance
Regular lubrication is key to maintaining your Singer 12. Apply a small amount of sewing machine oil to the handwheel shaft after each use. This will prevent corrosion and ensure smooth operation. Wipe away any excess oil to prevent fabric staining.
Troubleshooting Common Issues
While this guide covers the basic handwheel replacement, you might encounter other issues with your Singer 12. For example, if you're experiencing uneven stitches or tension problems, it could be related to the bobbin case. If that’s the case, you might find our visual guide on replacing the bobbin case on a Singer 16 helpful – the principles often apply across different models.
Beyond Handwheel Replacement: Preserving Your Vintage Machine
Replacing the handwheel is just one aspect of keeping your Singer 12 in top condition. These machines are enduring testaments to quality engineering, but they require consistent care. Don't underestimate the importance of a clean workspace and regular cleaning of internal components. Understanding the interplay between different parts can unlock the true potential of your vintage machine, allowing it to continue creating beautiful stitches for years to come. The rhythmic operation of a well-maintained Singer 12 is a joy to behold, almost like hearing the clockwork heart of a treasured heirloom.
Conclusion
Replacing the handwheel on your Singer 12 is a relatively straightforward repair that can significantly improve the machine's performance. By following these steps carefully and performing the necessary checks, you can ensure your vintage Singer 12 continues to sew beautifully for years to come. Remember to always consult a qualified technician if you encounter any difficulties or suspect a more complex issue.