Replacing the Drive Belt on a Singer 15-91
The Singer 15-91 is a workhorse, known for its reliability. However, like any mechanical device, parts wear out. One of the most common replacements needed is the drive belt. A worn or broken belt will cause slippage, irregular stitching, and generally poor performance. This guide provides detailed instructions on how to replace the drive belt on your Singer 15-91, ensuring smooth and reliable operation. Before tackling any repair, it's wise to have a good understanding of your machine's components; sometimes, issues are more complex than they initially seem.
Understanding the Drive Belt's Role
The drive belt connects the motor to the balance wheel, transferring power to drive the sewing machine’s mechanisms. It’s typically made of rubber and is prone to cracking, stretching, and ultimately breaking, especially in machines that have been stored for long periods or subjected to heavy use. Signs of a failing belt include visible cracks, fraying, or a noticeable “slippage” during sewing, even when the machine is set to a high speed. Sometimes slippage isn't due to a failing belt, but an issue with other parts like a bent needle or incorrectly threaded machine. If you're experiencing these kinds of problems, it's worth familiarizing yourself with replacing the Singer 15-91 needle for a comprehensive troubleshooting guide.
Tools and Materials Needed
- New Singer 15-91 drive belt (correct size and type – crucial!)
- Small screwdriver (Phillips or flathead, depending on your machine's screws)
- Needle-nose pliers (helpful for maneuvering the belt)
- Clean work surface
- Good lighting
Step-by-Step Replacement Guide

- Disconnect the Power: Always unplug the sewing machine from the power outlet before commencing any repairs. Safety first!
- Remove the Motor Cover: Depending on your model, this may involve removing a few screws. Refer to your Singer 15-91 manual if unsure.
- Remove the Motor: Gently lift the motor away from the machine. The belt is clearly visible once the motor is removed. Pay attention to how the motor sits as you’re removing it so you can reattach it correctly later. Often, older machines can benefit from a full restoration. Problems often occur with timing mechanisms and other core parts. For those with a Singer 99K, you may find rebuilding the timing mechanism a helpful process.
- Observe the Belt Path: Before removing the old belt, take a moment to carefully observe its route around the motor pulley, the balance wheel, and any intermediate pulleys or guides. A photograph can be very helpful here.
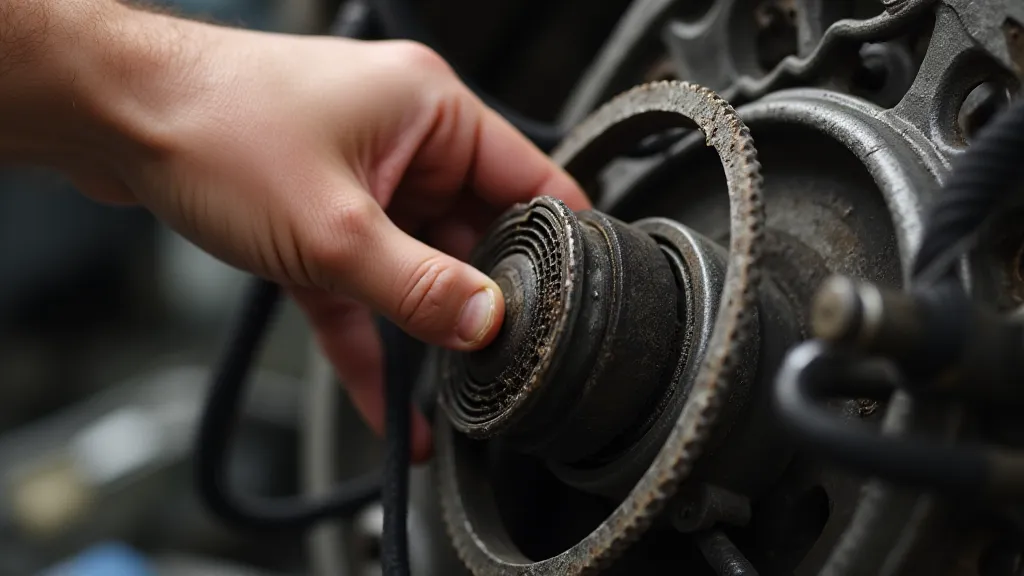
- Remove the Old Belt: Using your fingers or needle-nose pliers, carefully work the old belt off its pulleys. It might be slightly stuck, so a gentle but firm tug is usually necessary. Be careful not to damage the pulleys themselves.
- Install the New Belt: Starting at the motor pulley, carefully loop the new belt over each pulley in the same order you observed earlier. Ensure the belt is seated properly in the grooves of each pulley. This is where your earlier photograph is incredibly useful.
- Check Belt Tension: The belt should be snug but not overly tight. Too much tension can strain the motor and bearings; too little will cause slippage. A little bit of "give" when pressed is usually a good indication.
- Reattach the Motor: Carefully reposition the motor back into its original location, ensuring the belt remains in place.
- Replace the Motor Cover: Secure the motor cover with the screws you removed earlier.
Dealing with Corrosion and Rust
Singer machines, especially those of older vintage, are susceptible to rust and corrosion. Before replacing the belt, inspect the machine's frame, pulleys, and motor housing for signs of rust. If present, it's important to address the issue to prevent further damage and ensure the longevity of your machine. Sometimes rust is minor and can be cleaned, but in other cases, it might necessitate a more extensive restoration. If you're dealing with extensive rust, you should investigate methods for dealing with rust on antique Singer sewing machines, as it can affect the overall performance and appearance.
Testing and Troubleshooting
Plug the sewing machine back into the power outlet and test it at various speeds. Listen for any unusual noises and observe the stitching. If the machine still slips or makes grinding sounds, double-check the belt’s placement and tension. Ensure the pulleys are clean and free of debris. Regularly cleaning the machine, including the pulleys, is an important step for maintaining its longevity. Also, remember that the appearance of the machine body also contributes to its overall aesthetic and value. For a truly complete restoration, consider restoring a Singer 201: polishing the machine body for a gleaming finish.

Important Notes
- Belt Size: Using the correct size belt is absolutely critical. Refer to your Singer 15-91 manual or consult with a sewing machine parts supplier to ensure you have the right belt. Incorrect belt size can damage the motor and balance wheel.
- Pulley Condition: Inspect the pulleys for wear or damage. If a pulley is excessively worn, it may need to be replaced as well. Worn pulleys can cause belt slippage and uneven stitching.
- Professional Help: If you are uncomfortable performing this repair yourself, consider taking your Singer 15-91 to a qualified sewing machine technician. Improper repair can cause further damage to the machine.
- Motor Lubrication: Don't forget to lubricate the motor bearings periodically. This helps to keep the motor running smoothly and extends its lifespan. Use a lightweight machine oil.
- Preventative Maintenance: Regular preventative maintenance is key to keeping your Singer 15-91 in top working condition. Clean the machine regularly, lubricate moving parts, and inspect for wear and tear.
Troubleshooting Common Issues
Even after replacing the drive belt, you might encounter a few common issues. Here's a breakdown:
- Machine Still Slipping: Double-check the belt tension. It might be too loose, even if it *looks* okay. Also, inspect the pulleys again for any hidden damage.
- Unusual Noises: If you hear grinding or rattling, it could be a sign of more serious internal problems. Consult a professional technician.
- Stitch Irregularities: This could be related to needle issues, thread tension, or timing problems. Ensure the needle is correctly inserted and the thread is properly threaded.