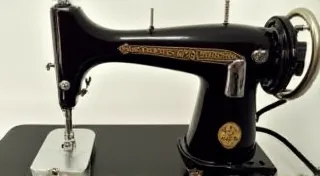
Understanding the Singer Featherweight Motor: Repair and Maintenance
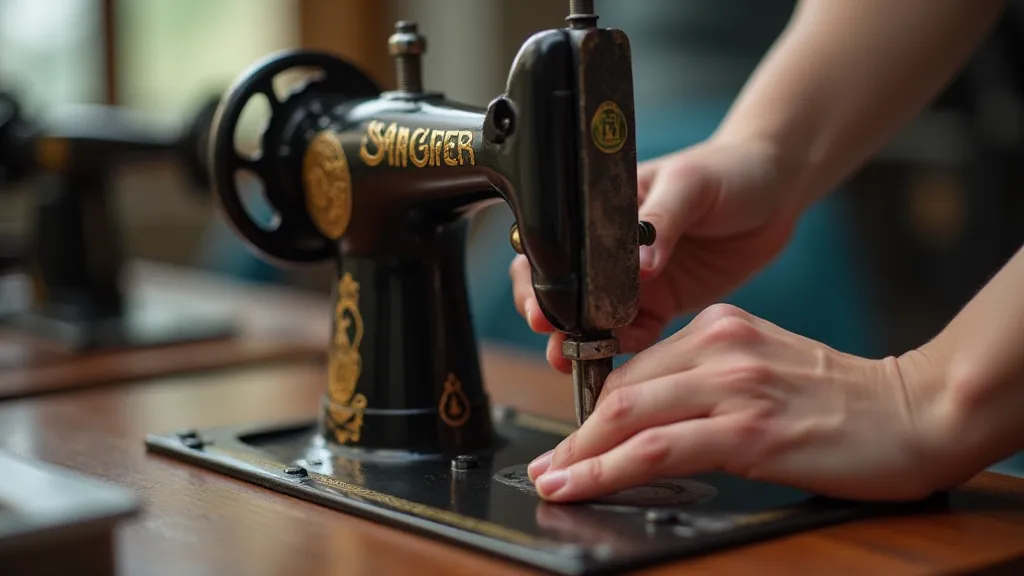
The Singer Featherweight sewing machine, renowned for its lightweight design and robust performance, owes much of its operational success to its unique motor. This article delves into the specifics of the Singer Featherweight motor, covering common issues, providing repair techniques, and outlining preventative maintenance procedures to ensure your machine runs smoothly for years to come. Understanding this vital component is key to preserving your vintage Singer Featherweight.
The Singer Featherweight Motor: A Unique Design
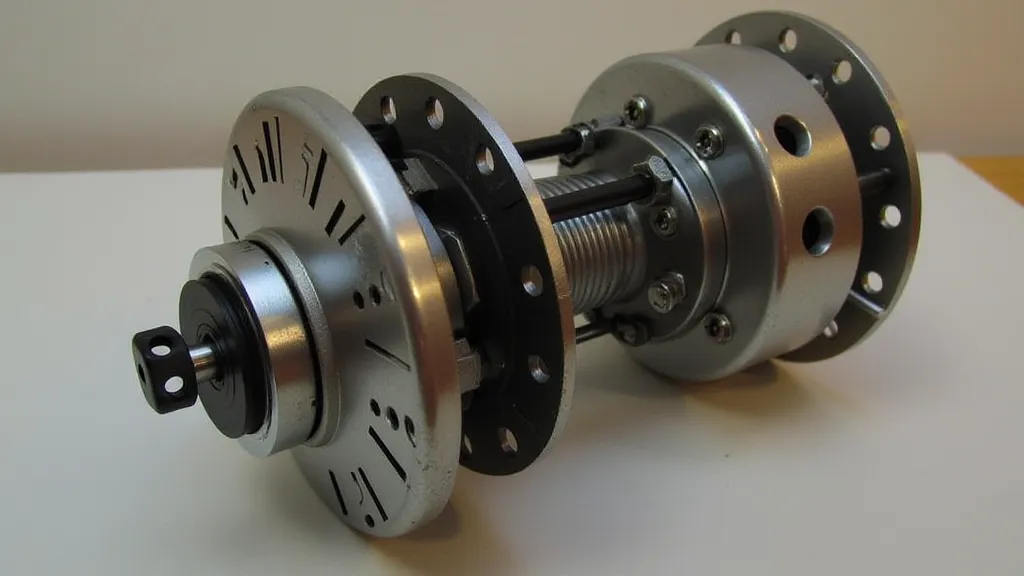
Unlike many contemporary sewing machines, the Singer Featherweight utilizes a three-phase induction motor. This design, while initially complex to understand for the uninitiated, offers a smooth, powerful, and quiet operation – a hallmark of the Featherweight experience. The motor is directly coupled to the machine’s drive wheel, eliminating the need for belts, a contributing factor to its characteristic quietness.
Common Motor Issues and Troubleshooting
While incredibly durable, Singer Featherweight motors are not immune to problems. Here’s a breakdown of common issues and how to approach troubleshooting:
- Lack of Power: This can stem from various causes, including a tripped circuit breaker, a faulty power cord, or problems within the motor itself. Check the power supply first. If power is reaching the motor, proceed to inspect the motor's windings (see below).
- Overheating: Excessive heat can damage the motor's insulation and lead to failure. Overheating is often caused by excessive friction within the machine (e.g., a stiff bobbin case or needle plate) or inadequate ventilation. Clean the motor’s ventilation slots regularly.
- Humming without Rotation: A humming sound indicates the motor is receiving power, but it's not rotating. This often points to a problem with the starting capacitor (if equipped – later models sometimes have different starting methods) or a seized rotor.
- Unusual Noises (Grinding, Clicking): These sounds suggest bearing wear or other mechanical issues within the motor. Further investigation and potential disassembly are required.
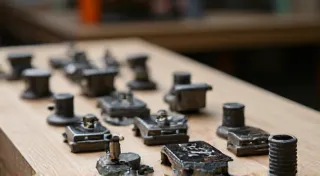
Motor Repair Techniques
Caution: Working on electrical components can be dangerous. Disconnect the machine from power before attempting any repairs. If you are uncomfortable working with electricity, consult a qualified technician.
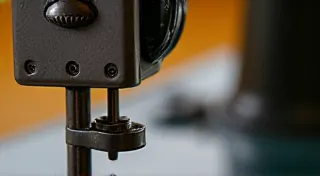
- Winding Inspection: The motor’s windings are the core of its operation. A continuity test can reveal broken or shorted windings. Requires a multimeter and a good understanding of electrical circuits.
- Capacitor Replacement: If your Featherweight is equipped with a starting capacitor, its failure is a common cause of starting problems. Replace with a capacitor of identical specifications.
- Bearing Replacement: Worn motor bearings contribute to noise and overheating. Disassembly is required, and special tools may be needed to press the bearings in and out.
- Cleaning: Dust and grime can insulate the motor, causing overheating. Regularly clean the motor's exterior with a soft brush and compressed air.
Preventative Maintenance for Motor Longevity
Proactive maintenance is key to extending the life of your Singer Featherweight motor. Here are some essential practices:
- Regular Cleaning: As mentioned above, keeping the motor clean is crucial.
- Lubrication: While the Featherweight motor itself isn’t typically oiled, ensuring the machine's overall lubrication is proper minimizes strain on the motor.
- Ventilation: Ensure adequate airflow around the motor. Don't block ventilation slots.
- Load Management: Avoid overloading the machine by sewing excessively thick fabrics.
- Routine Inspection: Periodically inspect the motor for signs of wear or damage.
Resources and Further Reading
Several excellent resources are available to aid in Singer Featherweight motor repair and maintenance. Online forums and vintage sewing machine repair communities often provide valuable insights and assistance.