Restoring a Singer 201: Polishing the Machine Body
The Singer 201 is a beloved vintage sewing machine, known for its elegant design and robust construction. Over decades, the machine body often accumulates tarnish, scratches, and a dull finish. This guide will show you how to safely and effectively polish the machine body of your Singer 201, restoring it to its original shine. We’re focusing on the body – the external casing – and not the internal mechanisms. Before you begin, remember that proper maintenance is key to longevity, and understanding how to lubricate vintage machines can prevent future issues – a topic explored further in our lubrication guide for vintage Singer sewing machines.
Understanding the Finish
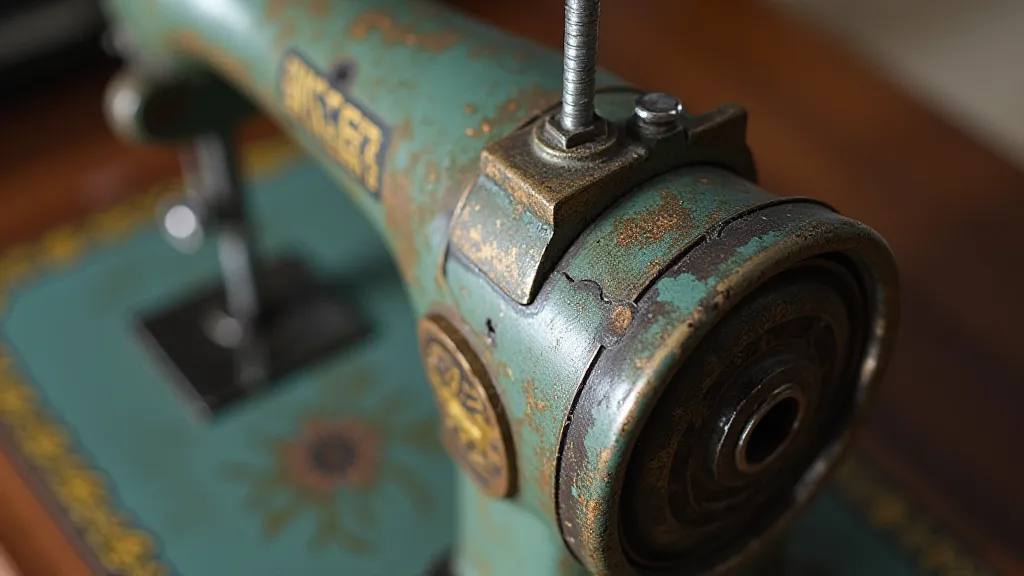
Before you begin, it's important to understand what kind of finish you're dealing with. Many Singer 201s have a nickel-plated finish. Some may have a painted finish or a combination. Incorrect polishing techniques can damage these finishes, so careful observation and testing are crucial. If you're unsure, err on the side of caution and use gentler methods. A painted finish, in particular, is delicate and requires a much different approach. For those dealing with more involved paint restoration on other models, you might find our article on restoring a Singer 12 particularly insightful.
Gathering Your Materials
You’re going to need a few specific items for this process. Avoid using harsh chemicals or abrasive cleaners, as they can strip the finish. Here's a list of recommended supplies:
- Mild Soap: Dish soap is ideal.
- Warm Water: Clean and warm.
- Soft Cloths: Microfiber cloths are best; have several on hand.
- Polishing Compound (Optional): Choose a mild metal polish specifically designed for nickel or silver. Flitz or similar products are generally safe. Always test any compound on an inconspicuous area first.
- Cotton Swabs: For reaching tight spaces.
- Masking Tape: To protect decals or painted areas.
- Rust Remover (Conditional): If you suspect rust is present, have a dedicated rust remover on hand – more on that later.
Step-by-Step Polishing Guide
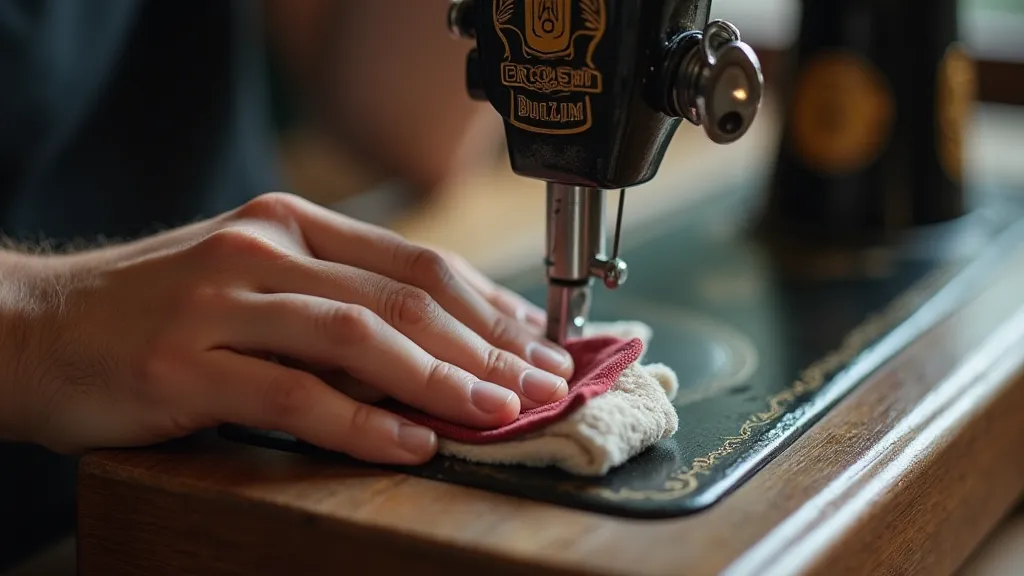
- Cleaning: Begin by thoroughly cleaning the machine body. Mix a few drops of mild soap into warm water. Dip a soft cloth into the solution and gently wipe down the entire surface of the machine body. Rinse with clean water and dry completely with a clean, soft cloth. This initial cleaning removes surface grime that can interfere with the polishing process.
- Testing (Crucial!): Choose an inconspicuous area of the machine body (like the underside) and apply a tiny amount of polishing compound (if using) to it. Rub gently. Wait a few minutes and then wipe clean. Examine the area closely. Does the finish look good? Is it even? This test determines if the polishing compound is suitable and if you're using the correct technique. A negative result here might mean the finish is more delicate than initially assumed.
- Masking (If Needed): If your Singer 201 has decals or painted areas that you want to protect, carefully apply masking tape around them. Take your time with this step; precision is key.
- Addressing Rust (If Present): If the testing phase reveals the presence of rust, you'll need to address it before polishing. Rust can be stubborn and damaging if not handled correctly. Use a dedicated rust remover, following the manufacturer’s instructions carefully. This is often a more involved process than simple polishing, and for severe cases, professional help is recommended. The type of rust remover used will depend on the severity of the corrosion.
- Polishing: If the test was successful, apply a small amount of polishing compound to a clean, soft cloth. Gently rub the compound onto the machine body in small, overlapping circles. Avoid excessive pressure. Less is often more in this process – allowing the compound to do the work rather than forcing it.
- Rinsing: After polishing, rinse the machine body thoroughly with warm water to remove all traces of the polishing compound. Residue can attract dust and detract from the shine.
- Drying: Dry the machine body completely with a clean, soft cloth. Water spots can appear if not dried properly.
- Buffing (Optional): For an even higher shine, you can buff the machine body with a clean, dry cloth. A final buffing gives a professional-quality finish.
Important Considerations
- Painted Finishes: If your Singer 201 has a painted finish, polishing can remove the paint. Avoid polishing painted areas altogether. Refinishing, a more complex undertaking, might be required for heavily worn or damaged paint.
- Rust: If there is rust present, it must be removed first. Use a rust remover specifically designed for vintage metal. This is a more advanced process and may require professional help. Ignoring rust will only exacerbate the problem.
- Decals: Be extremely careful when polishing around decals. They can be easily damaged. Masking is your friend!
- Patience: Restoring a vintage sewing machine takes time and patience. Don't rush the process. Rushing can lead to mistakes and damage.
- Finish Compatibility: Always test any cleaning or polishing agents on an inconspicuous area first to ensure compatibility with your machine’s finish. What works wonders on one Singer 201 might damage another.
- Internal Mechanisms: This guide focuses solely on the external body of the Singer 201. Issues with the internal stitching mechanisms require a different set of expertise and tools.
Troubleshooting Common Issues
Even with careful preparation, you might encounter some challenges during the polishing process. Here are a few common issues and how to address them:
- Streaking: Streaking can occur if the polishing compound isn't fully rinsed. Rinse thoroughly and dry completely.
- Damage to Decals: If a decal is partially removed, consider replacing it. Replacement decals are often available online.
Final Results
With careful attention and the right techniques, you can restore the beauty of your Singer 201's machine body. The result will be a machine that not only functions flawlessly but also looks stunning, a testament to its classic design and enduring quality. Remember that proper care and maintenance are key to preserving your Singer 201's beauty for years to come. Understanding the nuances of tension adjustment, for example, can drastically improve stitch quality and reduce stress on your machine. You can learn more about that in our article on adjusting the tension on a Singer 66-4.