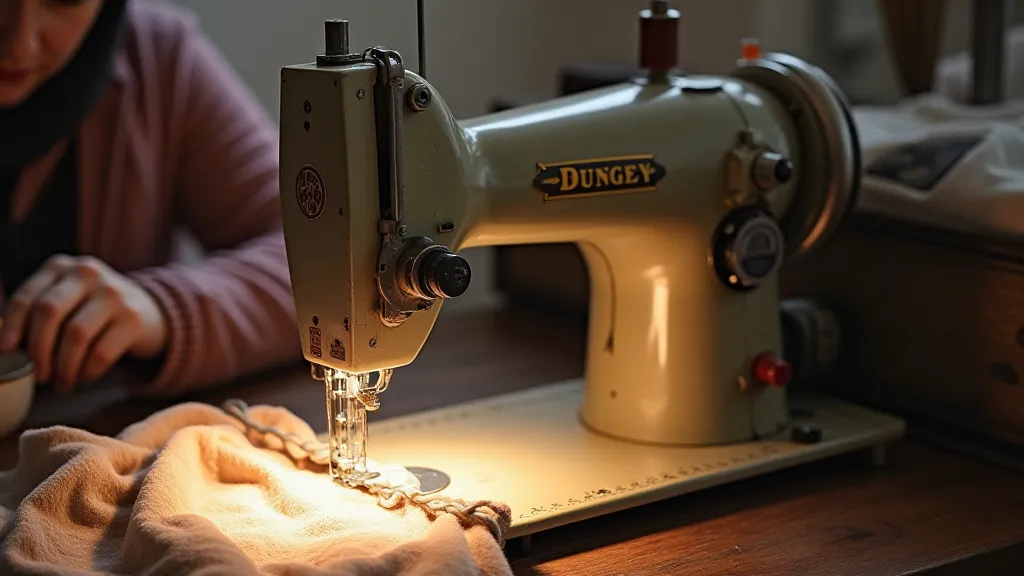
Singer 201 Repair: A Beginner's Guide to Essential Maintenance
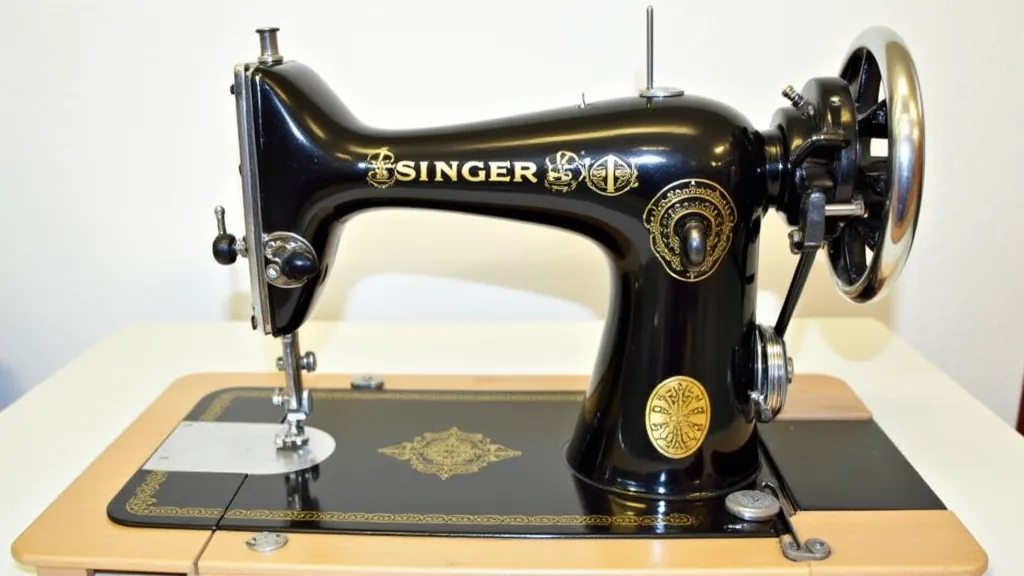
The Singer 201 is a beloved workhorse in the world of vintage sewing machines. Known for its reliability and straightforward design, it's a fantastic machine to own and restore. While these machines are sturdy, regular maintenance is key to keeping them running smoothly for decades to come. This guide is designed for beginners—no advanced mechanical experience required! We're going to cover the basics of cleaning, lubrication, and a few simple adjustments.
Understanding Your Singer 201
Before we dive in, familiarize yourself with the basics of your Singer 201. Identify the key components: the handwheel, needle bar, presser foot, bobbin winder, and feed dogs. Knowing their names and functions will make troubleshooting and maintenance much easier. Refer to your Singer 201 manual (if you have one) for a detailed diagram and descriptions.
Cleaning: Removing Years of Dust and Debris
Years of use often leave a Singer 201 coated in dust, lint, and old oil. This buildup can hinder performance and cause problems. Here's how to clean it:
- Gather Your Supplies: You’ll need a soft brush (a toothbrush works well), a lint roller, a vacuum cleaner with a brush attachment, and a mild solvent like isopropyl alcohol (optional).
- Exterior Cleaning: Use the brush and lint roller to remove dust from the machine’s exterior. Pay special attention to the decals and painted areas.
- Internal Cleaning: Use the brush to loosen debris from around the bobbin area, feed dogs, and needle bar. Gently vacuum these areas to remove the loosened dirt. If you choose to use isopropyl alcohol, apply it sparingly with a cotton swab to remove stubborn grime.
- Feed Dog Cleaning: The feed dogs are crucial for even stitching. Use a small pick or a stiff brush to carefully remove any tangled thread or debris from between the feed dogs.
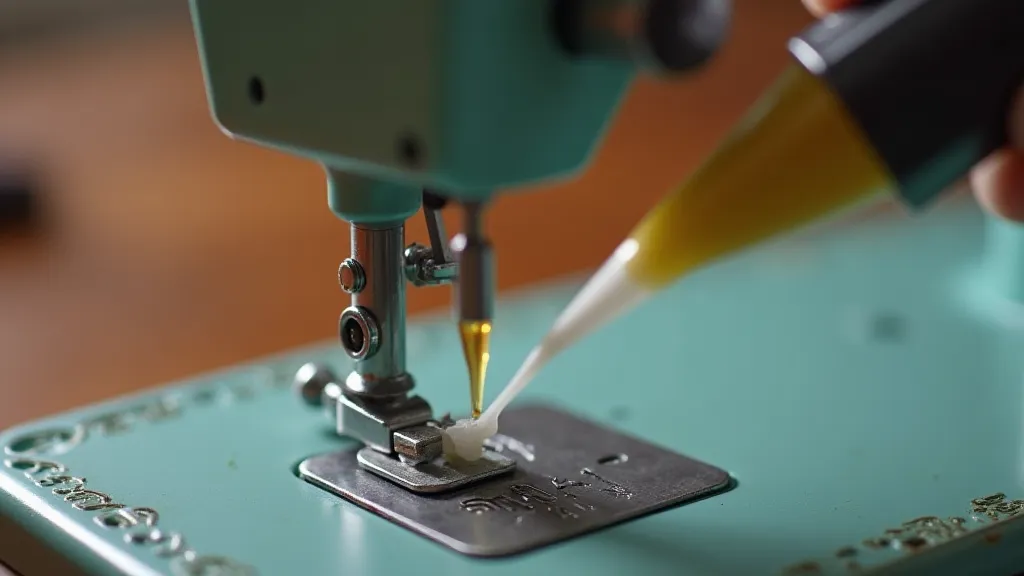
Lubrication: Keeping Things Moving Smoothly
Proper lubrication is essential for the longevity of your Singer 201. Over time, old oil dries up and turns gummy, hindering the machine's moving parts. Use a *sewing machine oil* – not WD-40, which can damage the machine. Here's how to lubricate:
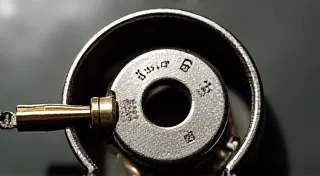
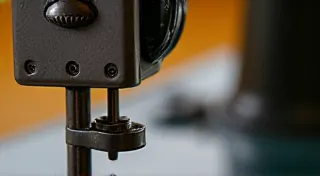
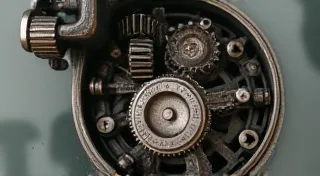
- Identify Lubrication Points: Refer to your Singer 201 manual (if available). Generally, you'll need to lubricate the needle bar race, the bobbin winder mechanism, the handwheel axle, and the motor (if applicable).
- Apply Oil Sparingly: A few drops of oil are all that’s needed at each lubrication point. Wipe away any excess oil with a clean cloth. Avoid over-oiling, as this can attract dust and create a sticky mess.
Simple Adjustments: Ensuring Proper Stitching
Sometimes, a Singer 201 might develop minor stitching issues. Here are a few simple adjustments you can try:
- Needle Position: Make sure the needle is correctly positioned in the needle clamp. A slight misalignment can cause uneven stitches.
- Bobbin Tension: If your stitches are looping on the top or bottom, the bobbin tension may need adjustment. Consult your manual for specific instructions on how to adjust it. This is usually very small adjustments.
- Presser Foot Pressure: Ensure the presser foot pressure is adequate for the fabric you're using. Too little pressure can cause skipped stitches.
- Timing: Although less common, timing issues can occur. This often requires a more advanced repair, but simple re-seating of the handwheel can sometimes resolve the issue.
Final Thoughts
Regular maintenance is the best way to keep your Singer 201 running smoothly and reliably. By following these simple steps, you can extend the life of your vintage sewing machine and enjoy years of trouble-free sewing. Remember to always be gentle and patient when working on vintage machines. If you encounter a problem you're not comfortable addressing, it’s best to consult a qualified sewing machine repair technician.