Replacing the Singer 15-91 Needle: A Step-by-Step Guide
The Singer 15-91 is a workhorse sewing machine, known for its durability and longevity. However, even the toughest machines require regular maintenance, and a crucial part of that is correctly replacing the needle. A dull or damaged needle can lead to skipped stitches, broken thread, and even damage to the fabric or machine itself. This guide will walk you through the process, ensuring your Singer 15-91 continues to sew beautifully. Maintaining a vintage machine like the 15-91 requires understanding its nuances, and sometimes deeper issues can arise. If you find yourself grappling with more complex problems, you might want to investigate "The Ghost in the Gears: Diagnosing the Subtlest Maladies of Vintage Singers" for insights into troubleshooting those trickier situations.
Understanding Singer 15-91 Needle Types & Sizes
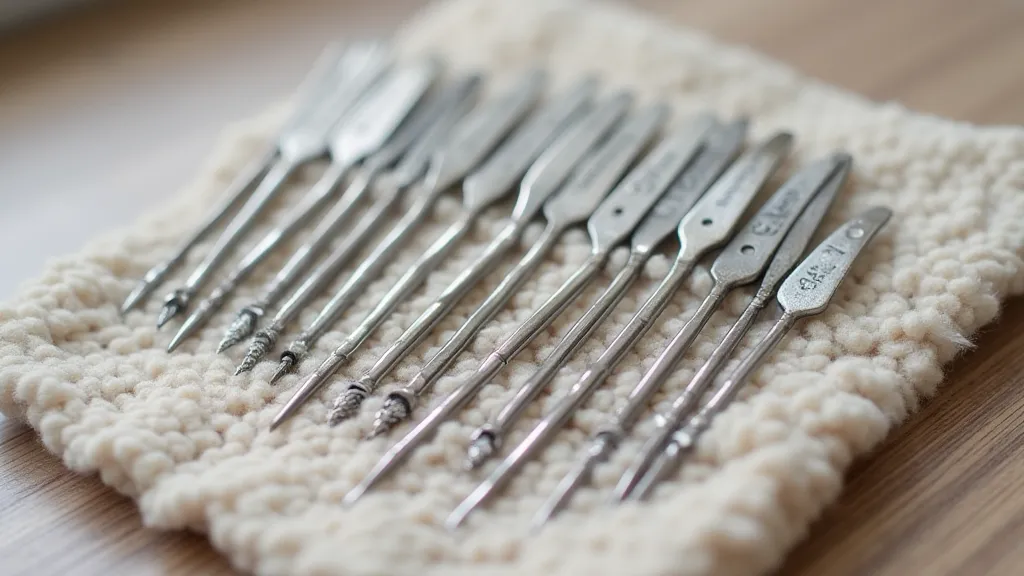
The Singer 15-91 utilizes a 705 (also often referred to as a 934) needle. This is a universal needle type, readily available in various sizes and types to suit different fabrics.
- Size: Needle sizes range from 60/8 to 110/16. A size 80/12 is a good general-purpose choice for many fabrics. Heavier fabrics will require larger sizes.
- Types: Common needle types for the 15-91 include:
- Universal: A good all-purpose choice for woven fabrics.
- Ball-Point (Jersey): Ideal for knit fabrics, preventing snags and runs.
- Sharp: Suitable for denim and other tough woven fabrics.
Always check your sewing project instructions to determine the appropriate needle size and type. Choosing the right needle isn’t just about fabric type; it also influences stitch quality and prevents potential damage. Consider how the handwheel interacts with the needle mechanism - problems there can sometimes mirror needle issues. If you're encountering issues related to the handwheel's operation or need guidance on replacement, understanding the principles discussed in "Singer 12: Replacing the Handwheel - A Practical Guide" can offer valuable insight into the precision required for vintage Singer machines.
Tools You’ll Need
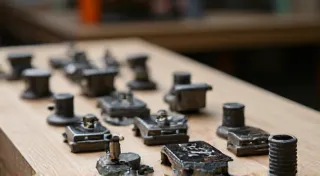
- New Singer 15-91 needle (705/934)
- Needle threader (optional, but helpful)
- Good lighting
- Small screwdriver (appropriate for the needle clamp screw)
- Soft cloth (to protect the machine's finish)
Step-by-Step Needle Replacement
- Stop and Power Off: Ensure the machine is powered off and unplugged from the outlet. This is crucial for safety. Double-check!
- Prepare the Area: Place a soft cloth under the machine to protect the finish while you work. This is especially important for older, valuable machines.
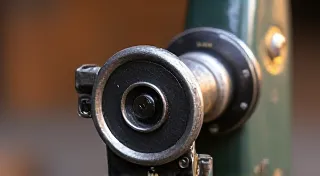
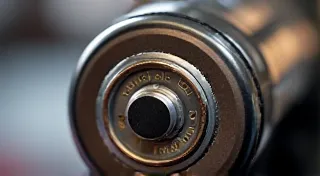
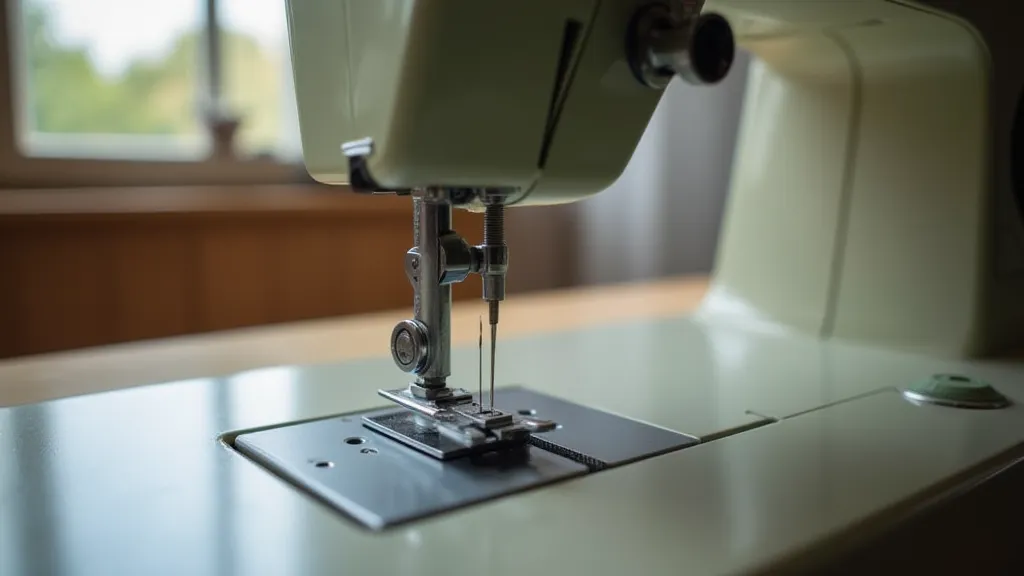
- Locate the Needle Clamp Screw: This is the small screw that holds the needle in place. It's located just above the needle.
- Loosen the Clamp Screw: Using a screwdriver (typically a small flathead), loosen the needle clamp screw. Do *not* remove the screw completely. Just loosen it enough to allow the old needle to be removed. Avoid excessive force – these screws can be delicate.
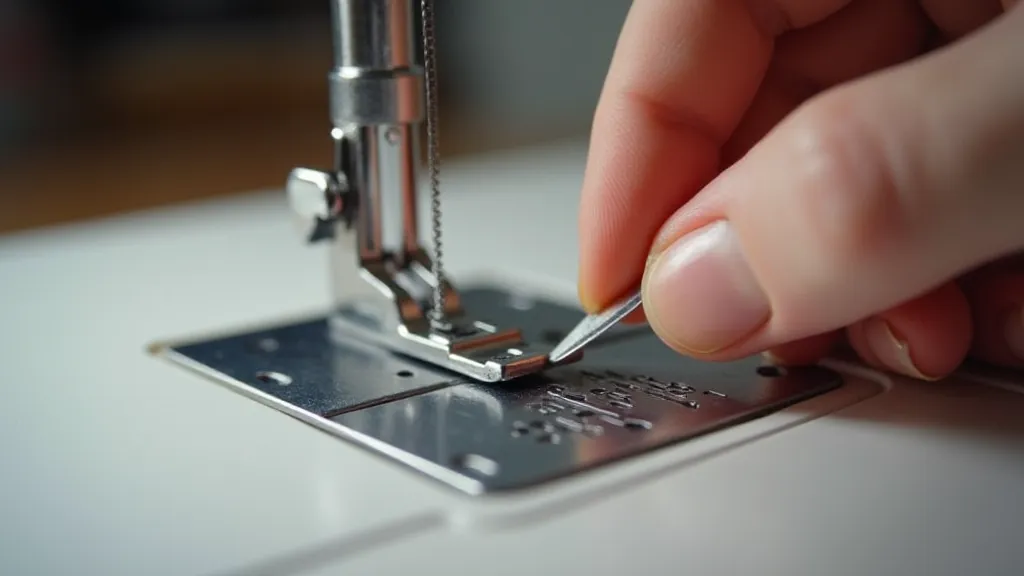
- Remove the Old Needle: Gently pull the old needle straight up and out of the machine. Be careful not to damage the surrounding parts. Dispose of the old needle safely – they can be sharp! Examine the old needle closely for signs of wear or damage.
- Insert the New Needle: The needle should be inserted with the flat side of the needle facing towards the back of the machine. Push the needle firmly, but gently, into place. Ensure it’s seated properly within the clamp.
- Tighten the Clamp Screw: Ensure the needle is securely held in place by tightening the needle clamp screw. Don’t overtighten, as this could damage the screw or the needle itself. A snug fit is what you’re after.
- Test Stitch: Before starting a full project, test the new needle with a scrap of fabric. This helps to ensure proper tension and stitch quality. Try a few different stitch patterns to confirm everything is working as it should.
Maintaining Your Singer 15-91: Beyond Needle Replacement
Replacing the needle is just one aspect of maintaining your Singer 15-91. Regular cleaning and lubrication are equally important for ensuring its longevity. The bobbin chamber, in particular, is prone to buildup of lint and debris, which can affect the machine's performance. Many find that a thoroughly cleaned bobbin chamber significantly improves their sewing experience. For more comprehensive advice on maintaining your vintage Singer and troubleshooting related issues, exploring "Brass Constellations: Mapping the Intricacies of a Singer 1201" can be a valuable resource. It covers a range of maintenance and operational insights relevant to many older Singer models.
Troubleshooting Needle Issues
- Skipped Stitches: Could be a bent needle, incorrect needle size, or incorrect needle type. Check the needle for damage and ensure you've selected the appropriate size for the fabric. Sometimes a slight adjustment to the needle position can resolve skipping.
- Broken Thread: Often caused by a dull or damaged needle, incorrect thread type, or incorrect needle size. Make sure the thread is compatible with the fabric and needle. Also check for burrs on the needle eye.
- Fabric Damage: Could be a needle that's too large, a bent needle, or an incorrect needle type. Always use a fresh needle for each new project.
- Tangled Bobbin Thread: Incorrect needle size or type, or improper threading of the bobbin case.
- Uneven Stitches: Needle bent or damaged, incorrect needle size, or inconsistent thread tension.
Remember to replace your needles regularly, even if they don't appear damaged. A fresh needle will contribute to smoother sewing and better results. A good rule of thumb is to replace the needle every 6-8 hours of sewing time, or more frequently if you'll be working with particularly abrasive fabrics.
Understanding Pressure Foot Alignment & Adjustment
The pressure foot plays a critical role in ensuring proper needle penetration and consistent stitch formation. An improperly aligned or adjusted pressure foot can lead to skipped stitches, fabric puckering, and thread breakage. While this guide focuses on needle replacement, it’s worth noting that the pressure foot’s functionality and its connection to the needle’s performance are interconnected. If you're facing persistent issues despite replacing the needle, it's beneficial to understand that sometimes the root cause lies in the alignment or functionality of the pressure foot. To gain a deeper understanding of these principles, consulting resources focused on models with similar mechanisms, like the Singer 99K’s pressure foot replacement, can offer valuable insights. Refer to "Singer 99K: Replacing the Handwheel - A Practical Guide" for more information.
Beyond the immediate replacement process, understanding the overall mechanics and maintenance requirements of your vintage Singer is crucial for ensuring its longevity. Common issues include thread bunching, inconsistent stitching, and unusual noises, all of which can often be traced back to lubrication, timing, or component wear. Regularly consulting maintenance guides and seeking advice from experienced sewing machine technicians can significantly extend the lifespan and performance of your treasured Singer 15-91.